Tag Archives: Art & Design

Ural Sidecar Windshield Construction

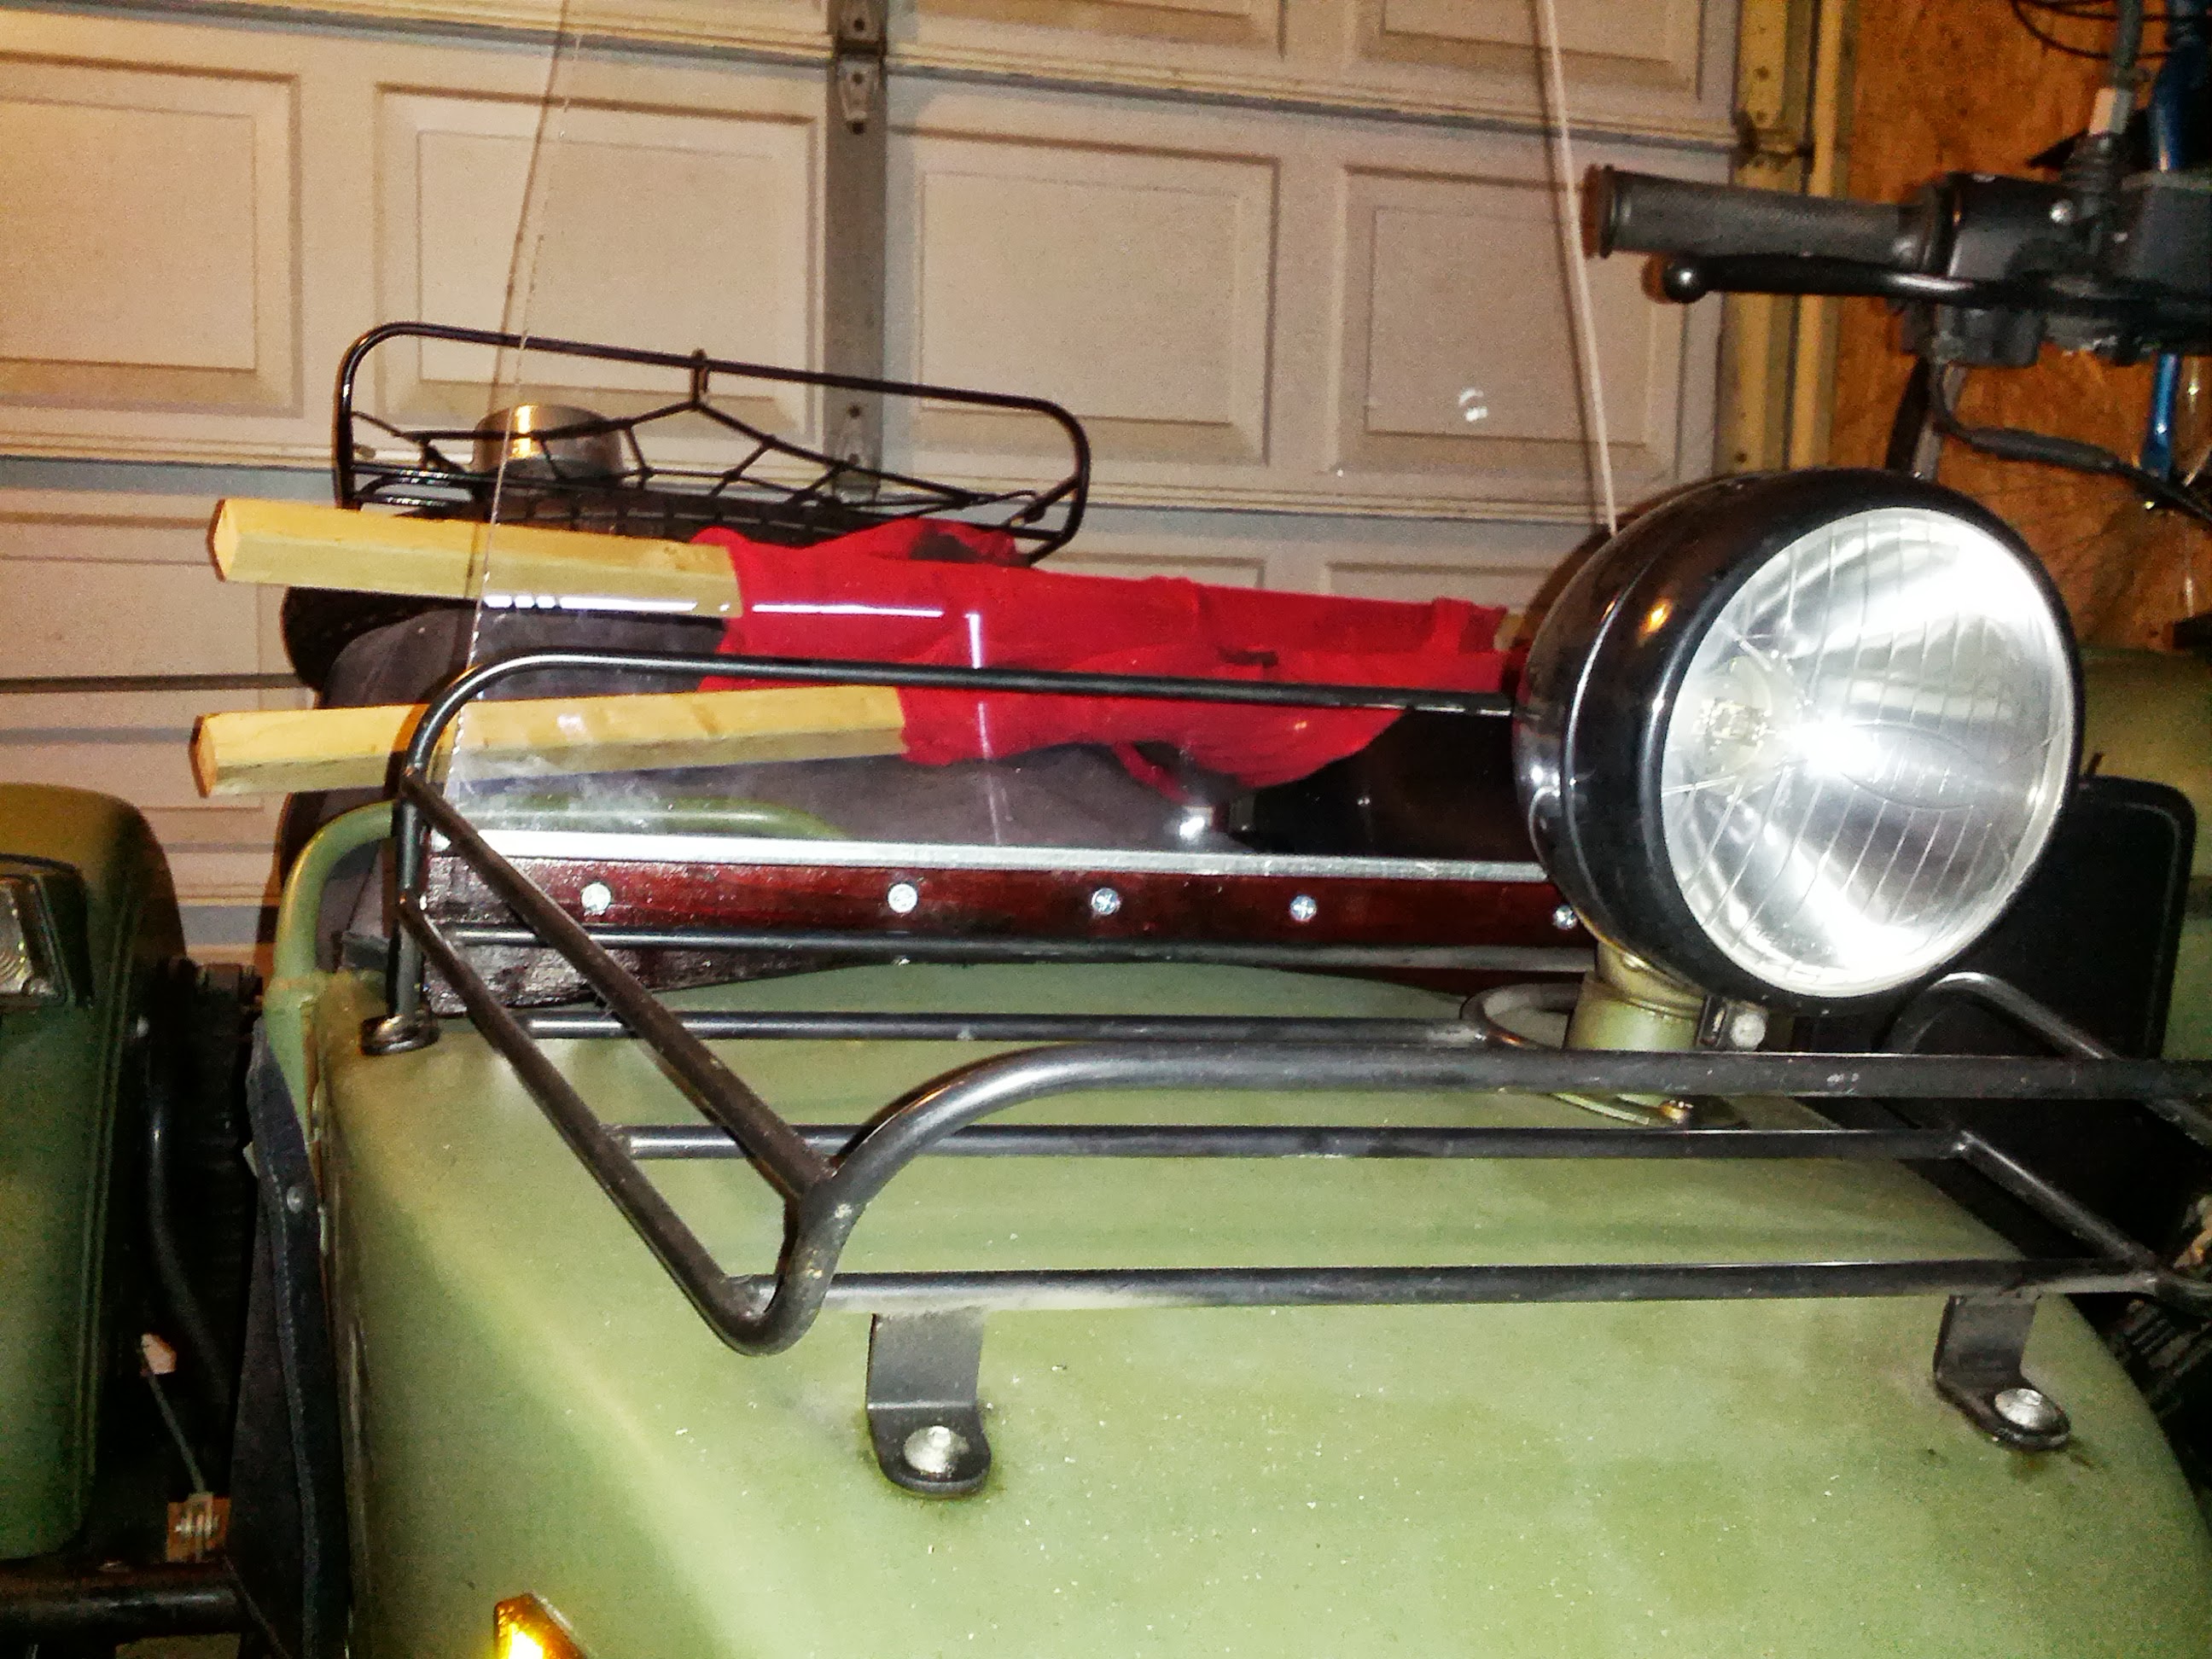
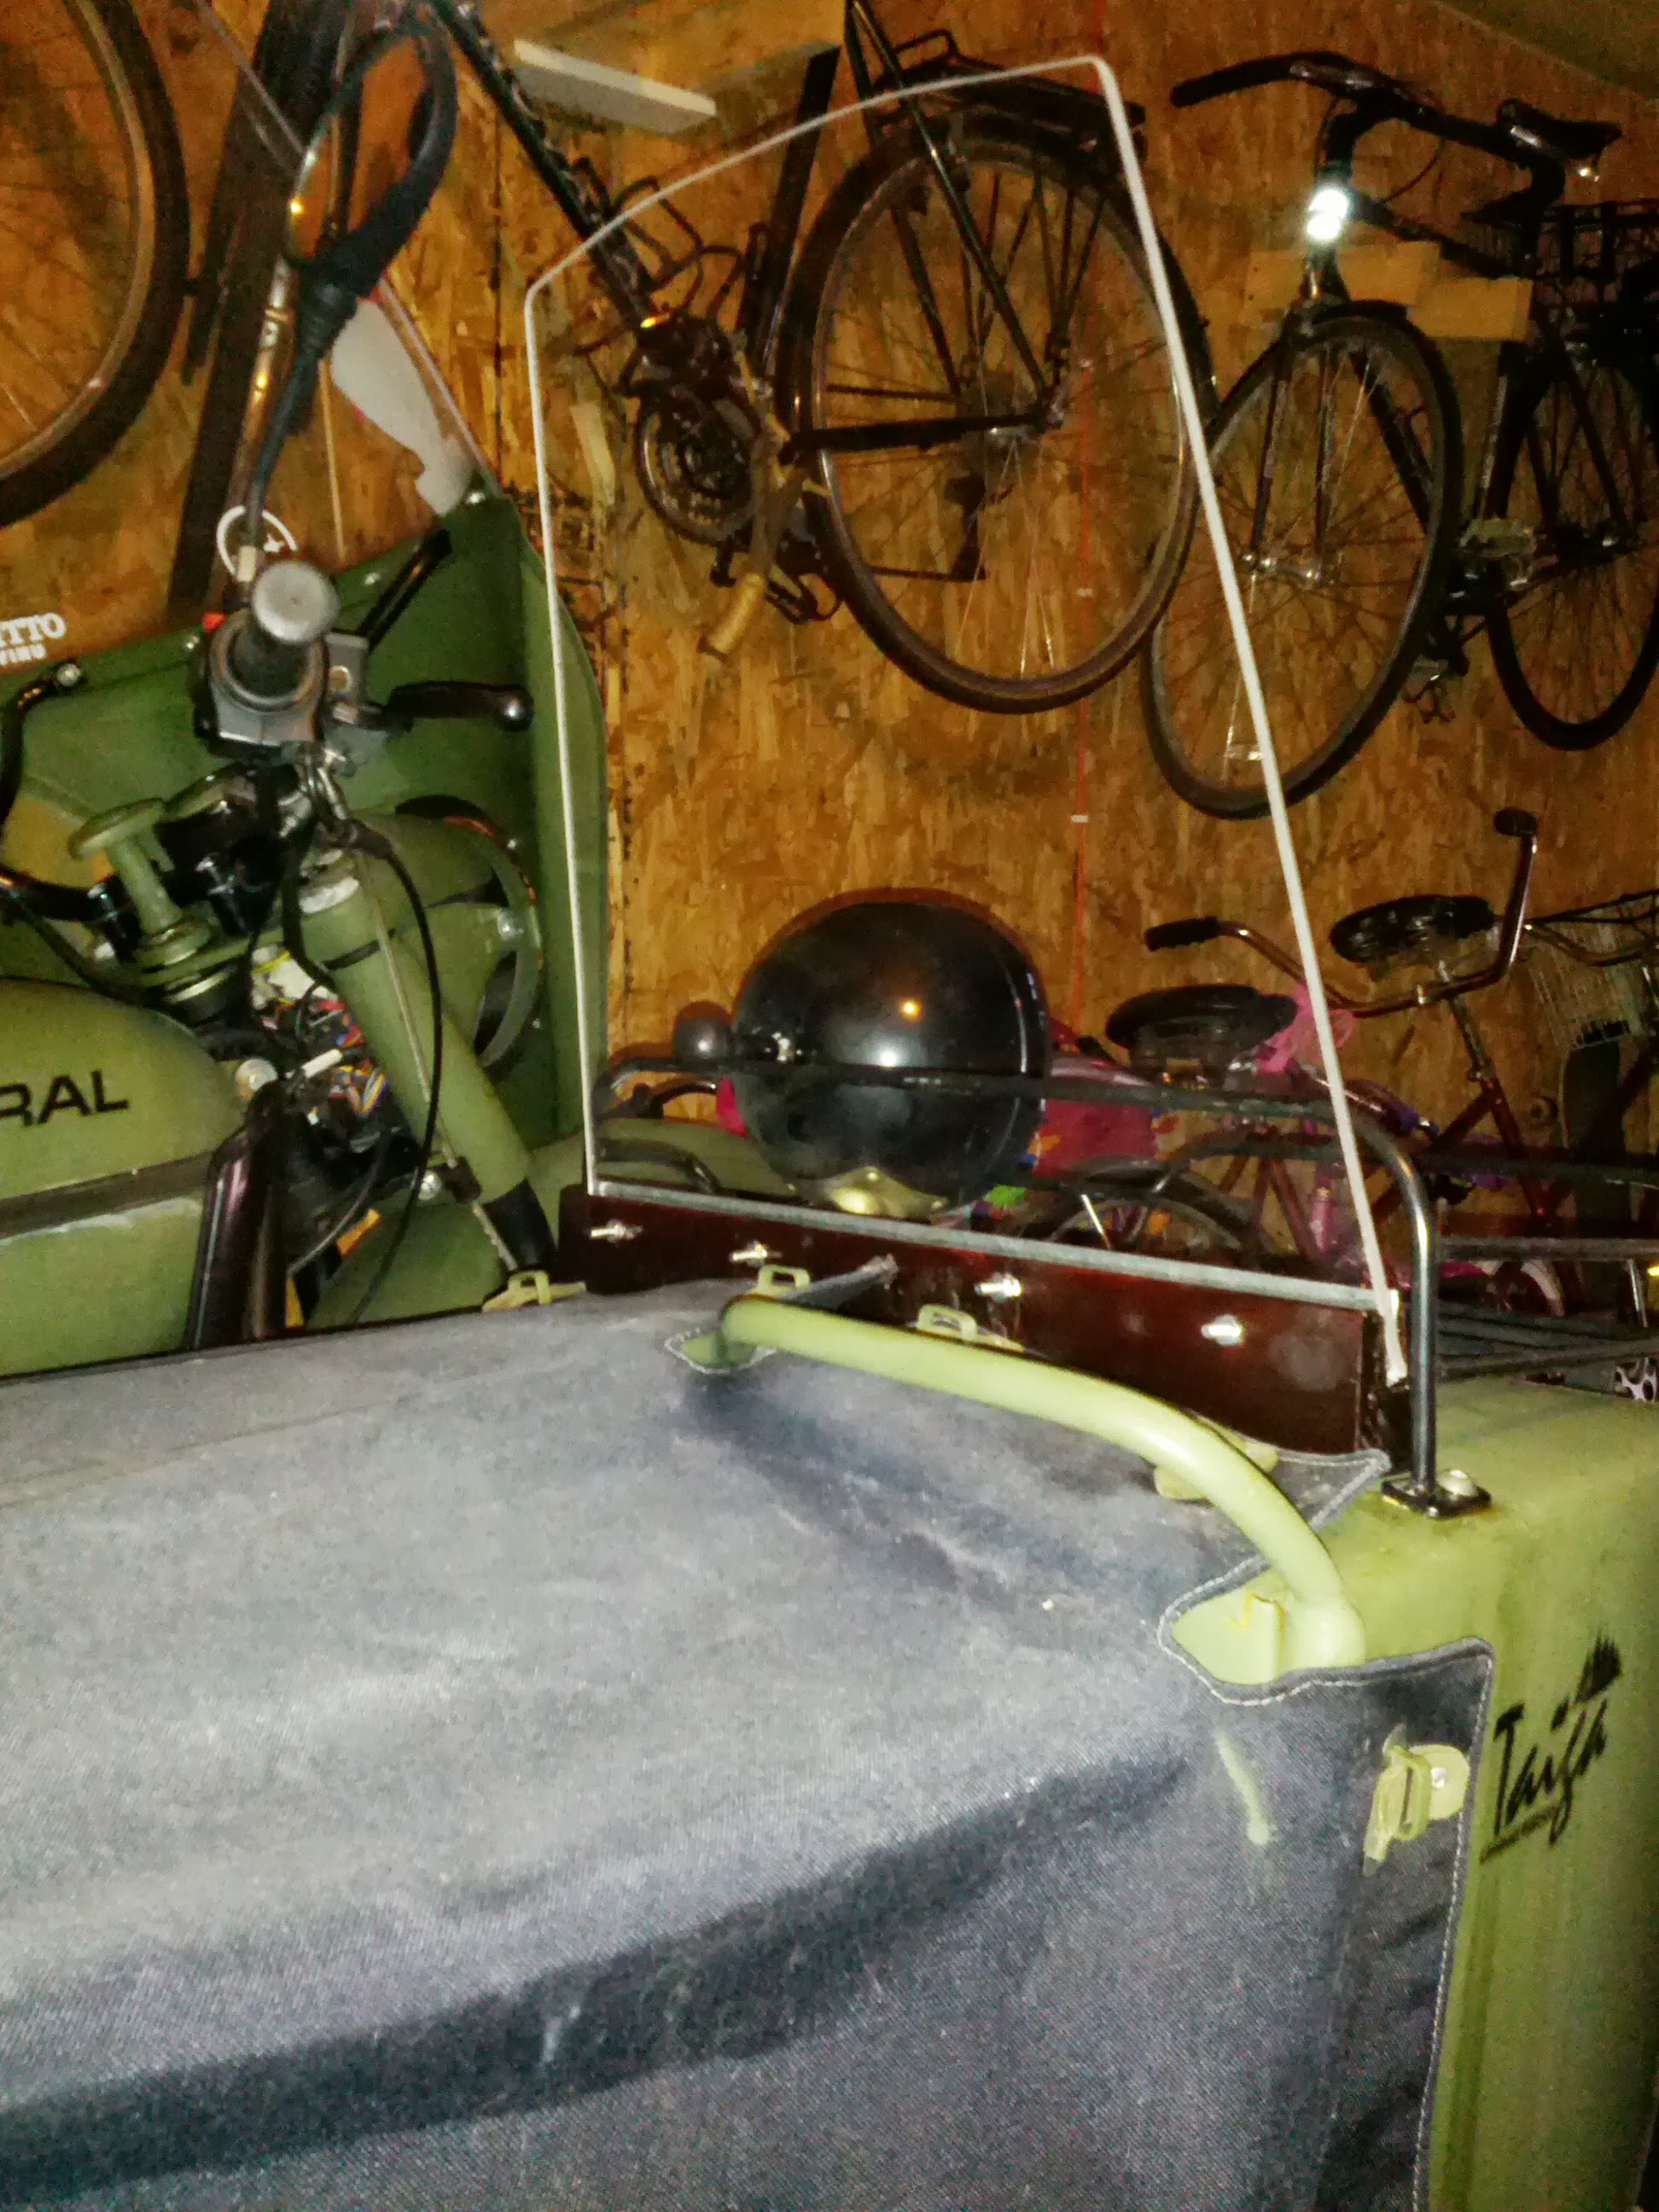
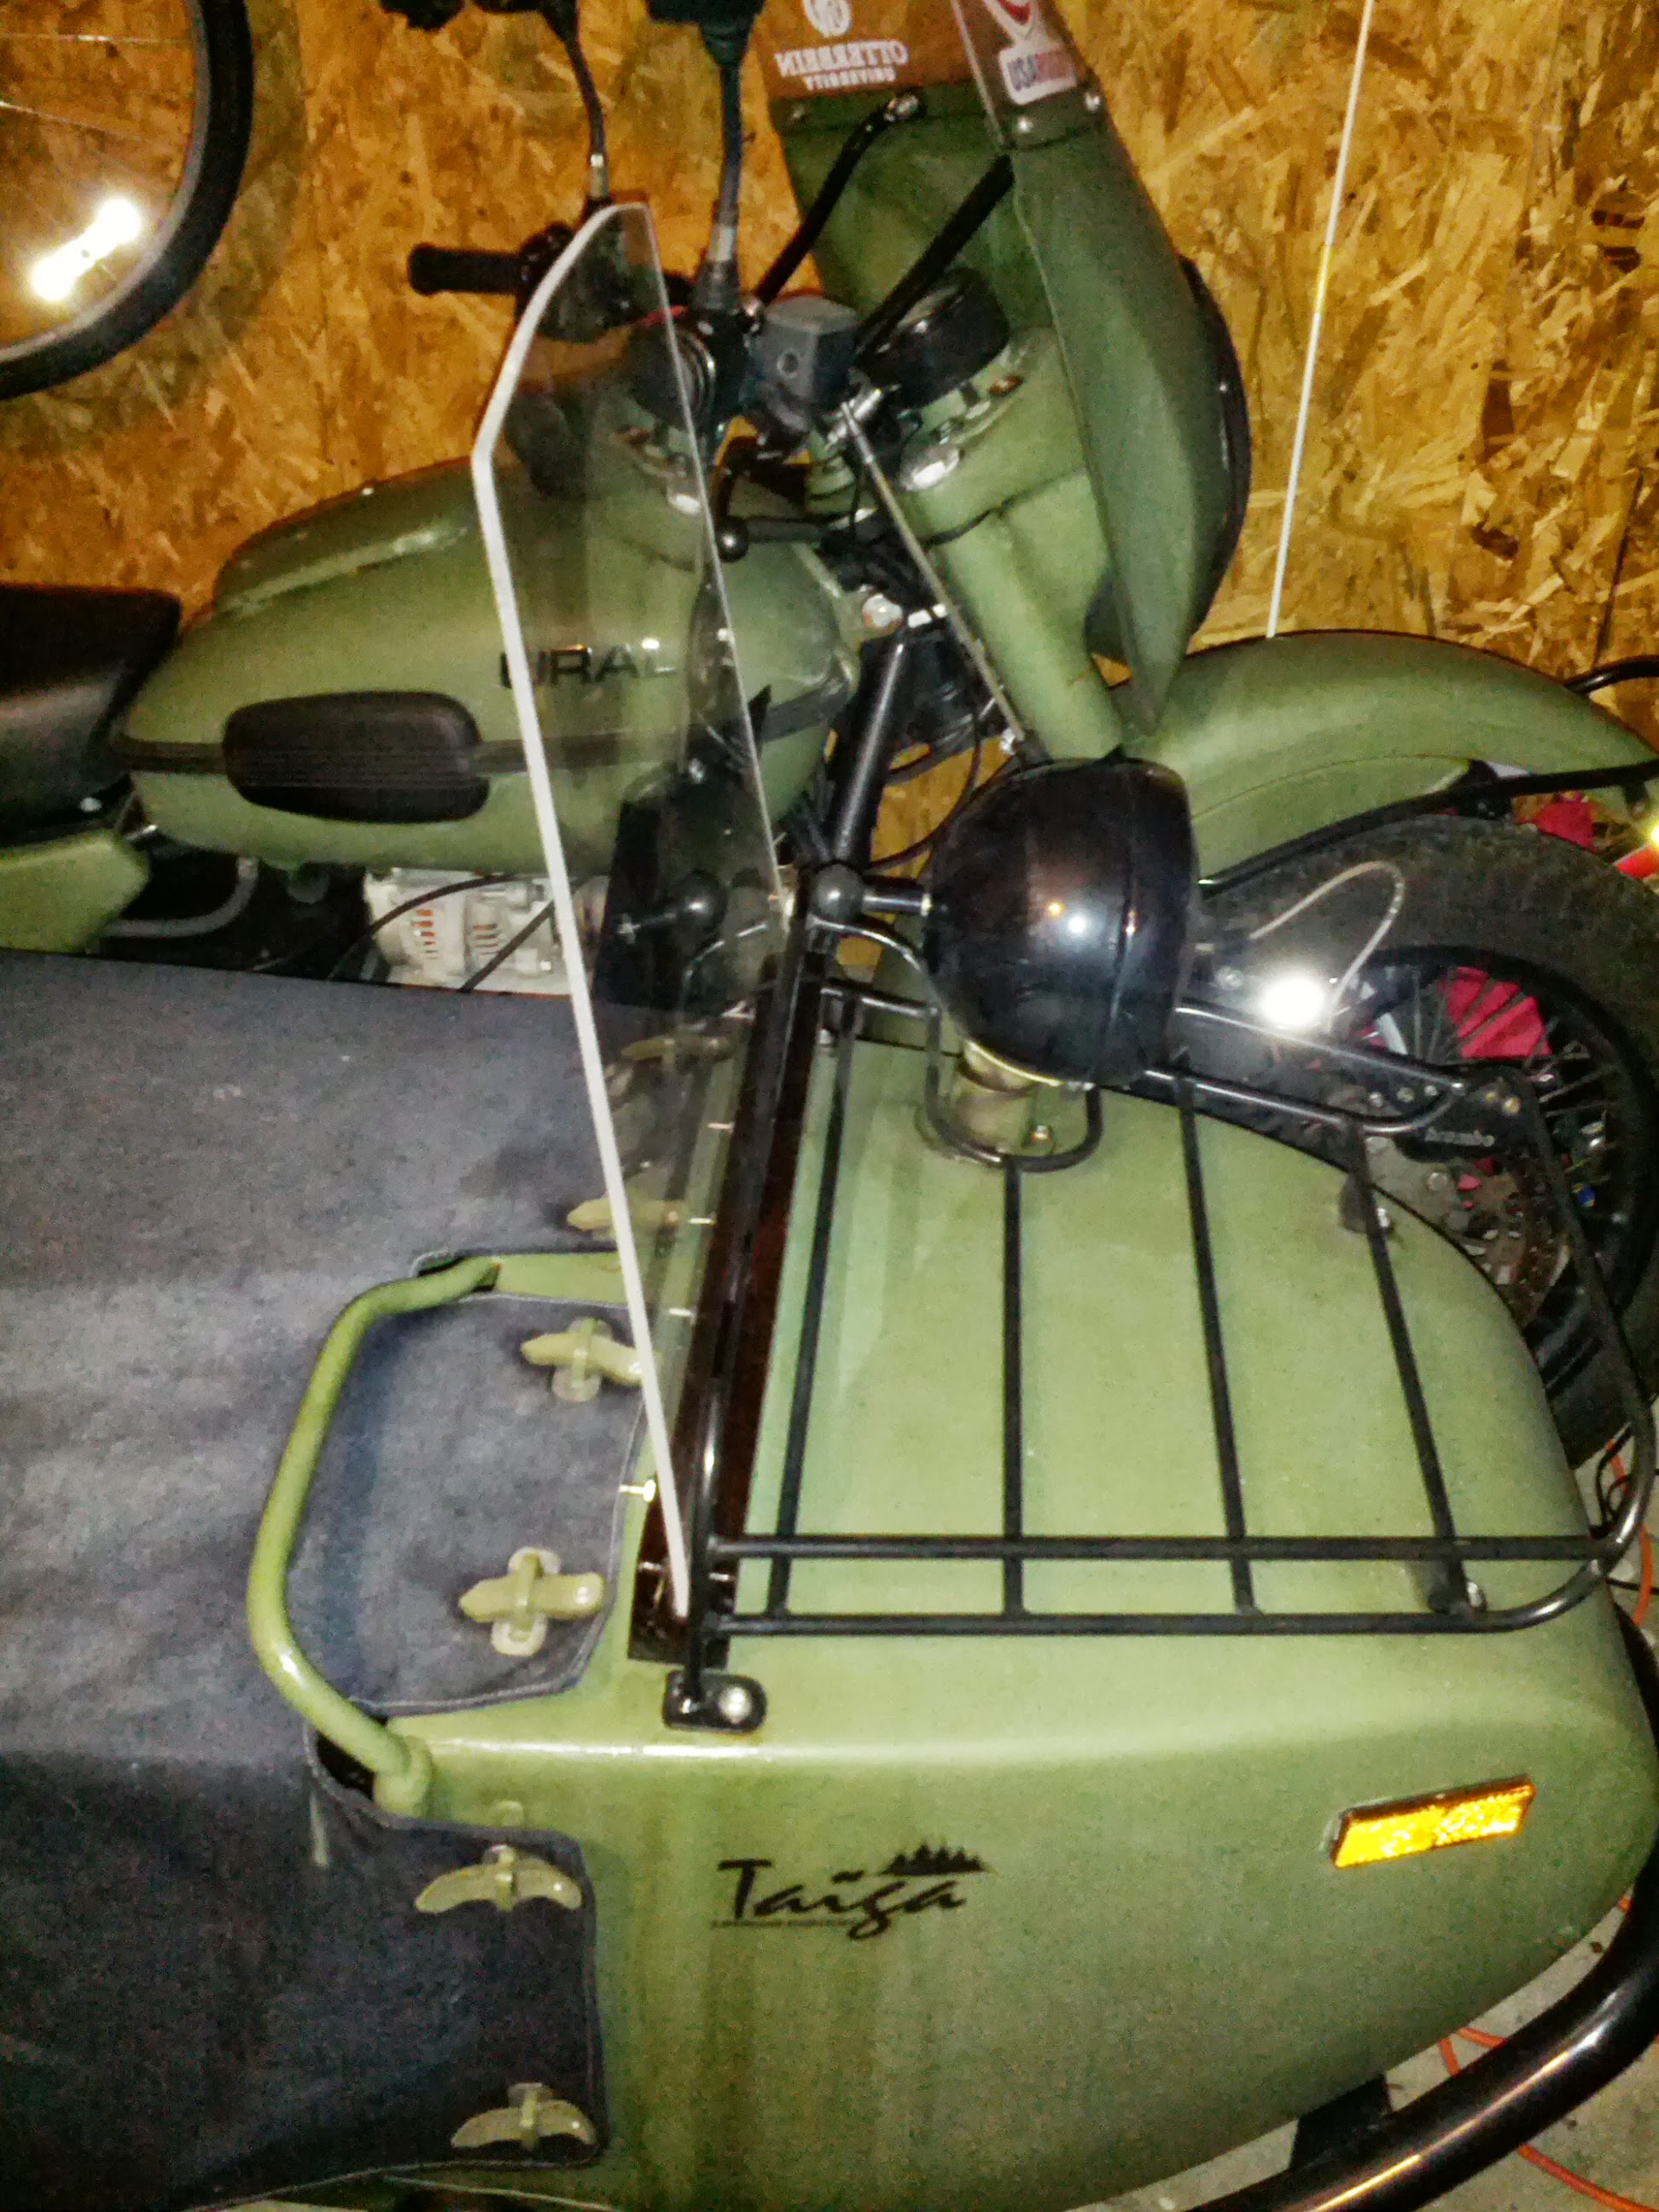
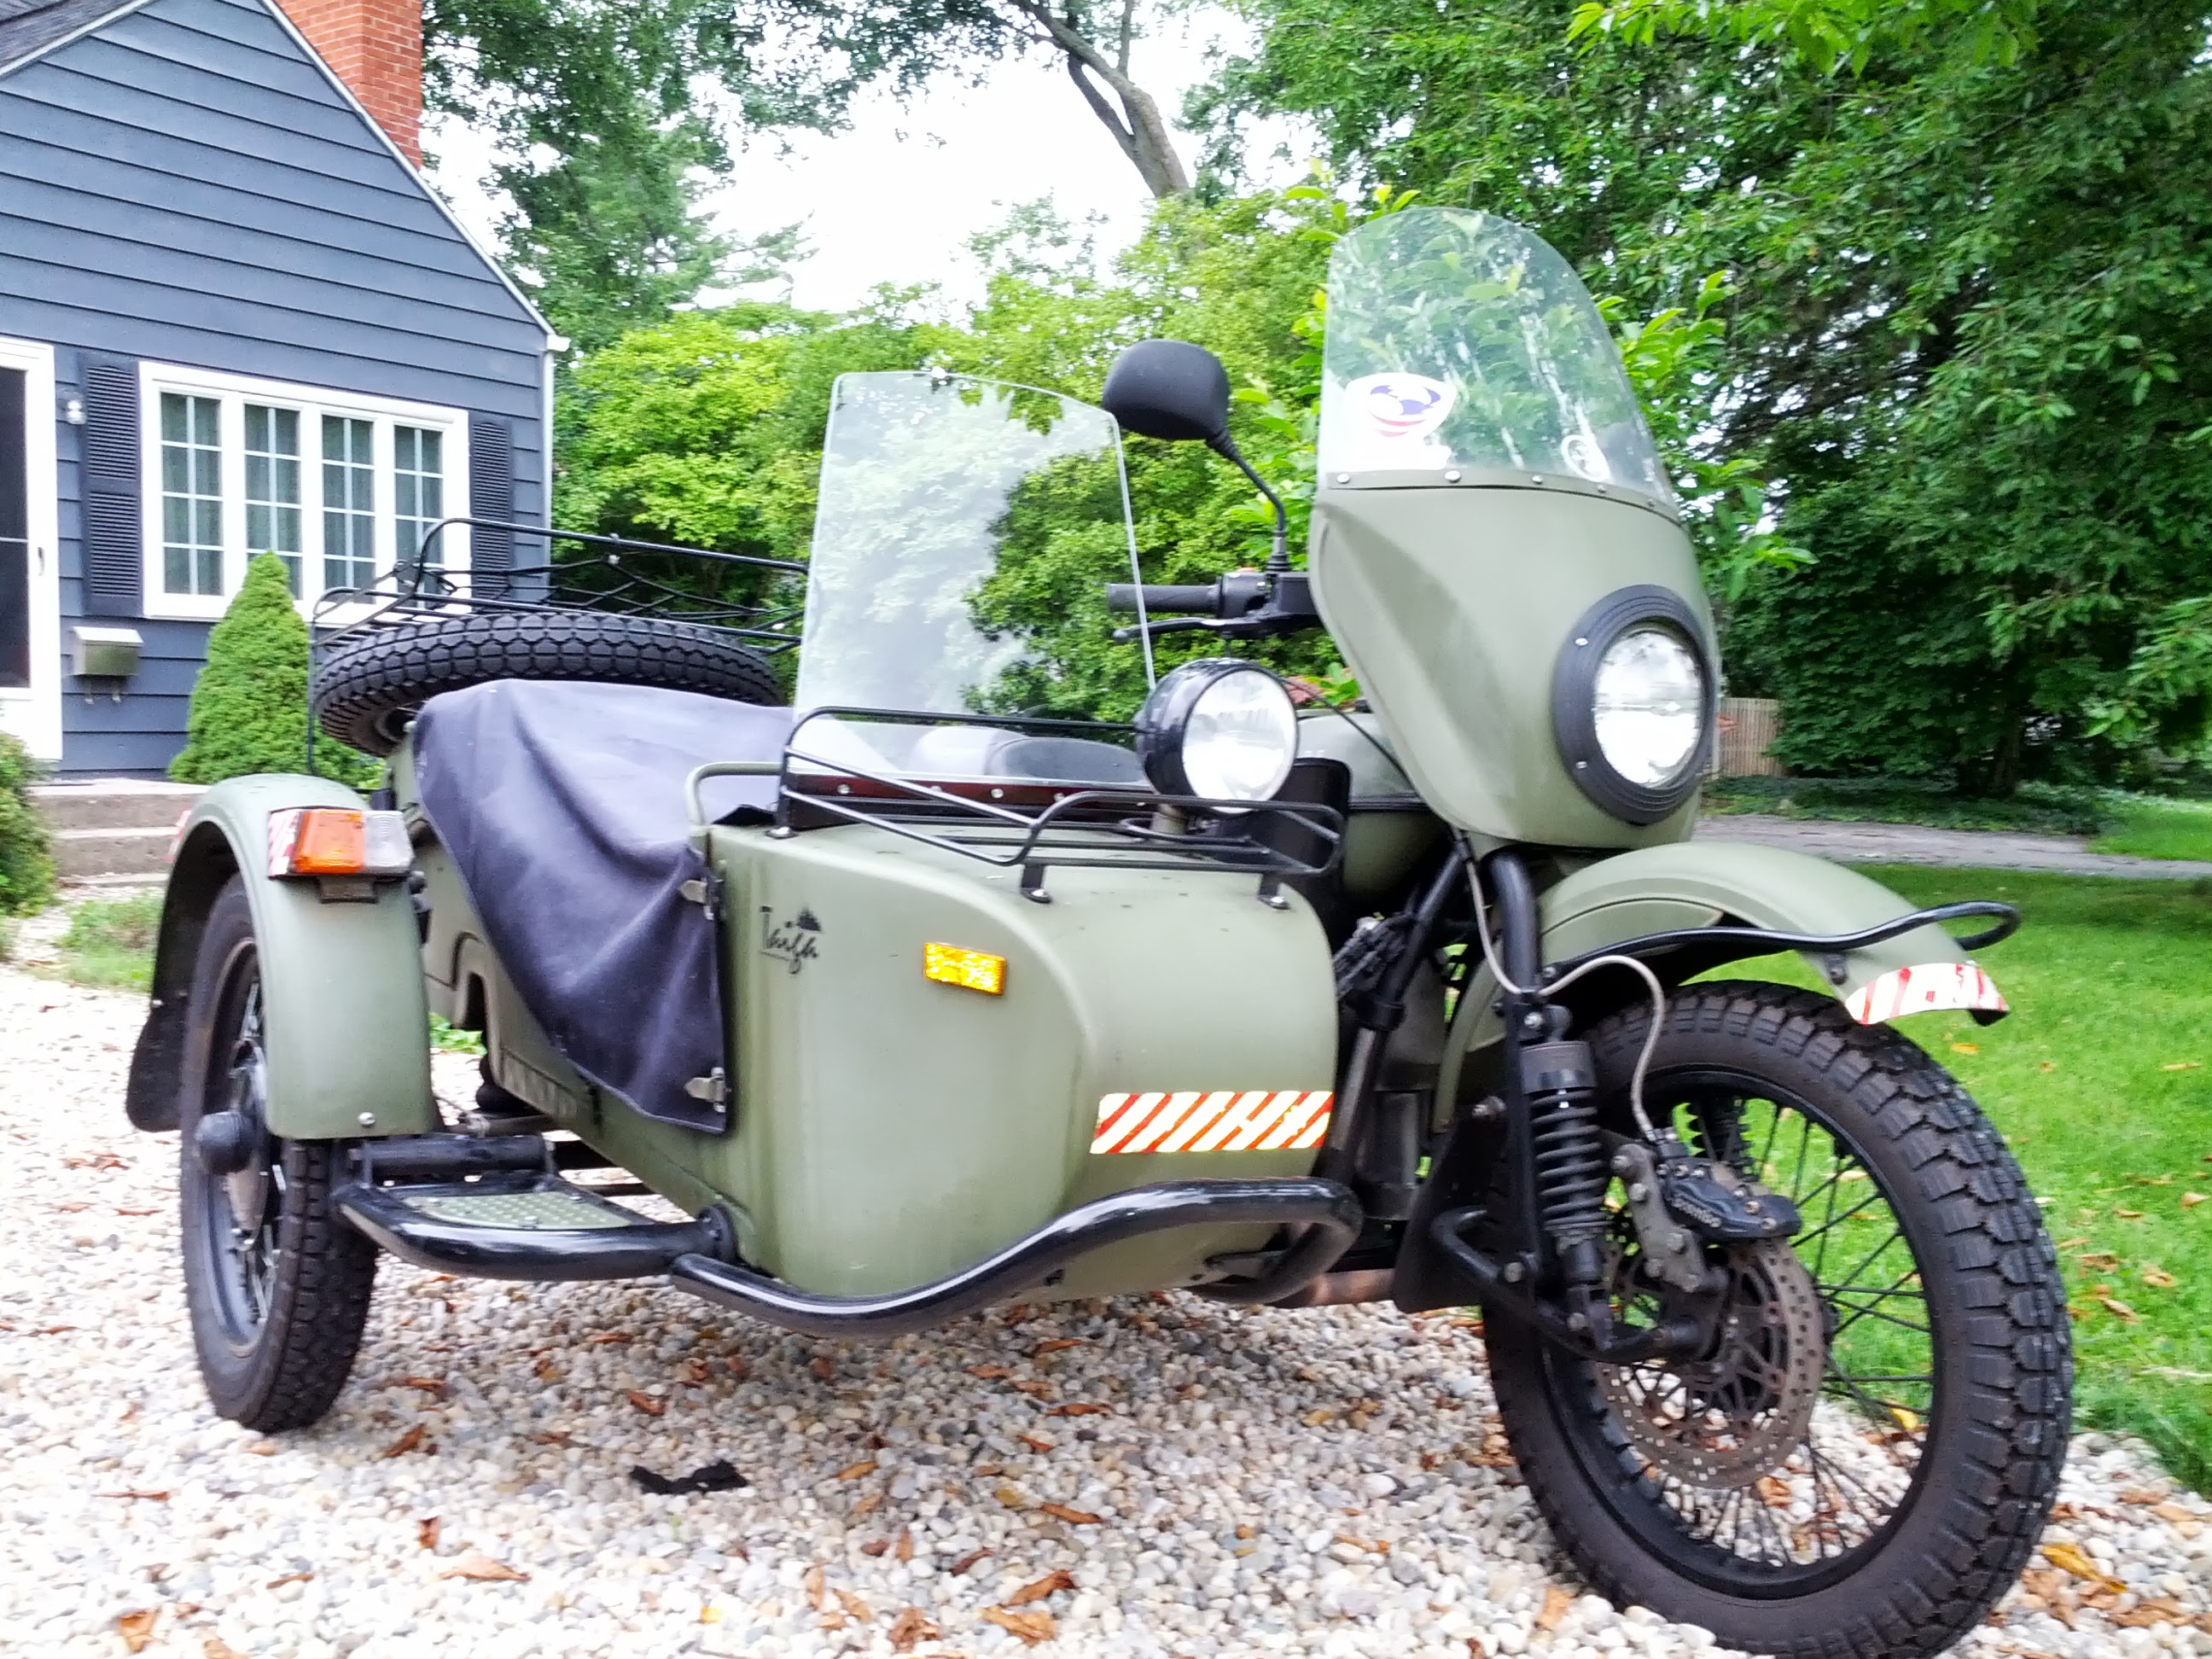
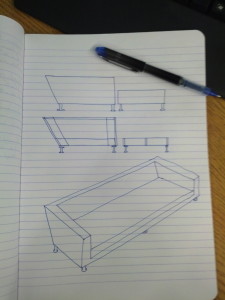
The one item that I didn’t get with the Ural when I originally purchased it a few years ago, but really wanted, was a windshield for the sidecar. Unfortunately, at about $250 for a factory unit I didn’t feel like I’d get what I was paying for so instead I decided to build my own. Total cost: $40 and about 3 hours of my time. There isn’t much to it so the photos below pretty well show what I did. However, if you’re going to go out and buy the materials, this is essentially what you’ll need.

Extra strong safety-coated plexiglass, an 18×24″ piece of this will run you about $20 at Home Depot.

Piece of galvanized sheet metal (don’t need this but I thought it added a finished touch).

Handful of bolts, nuts and washers.

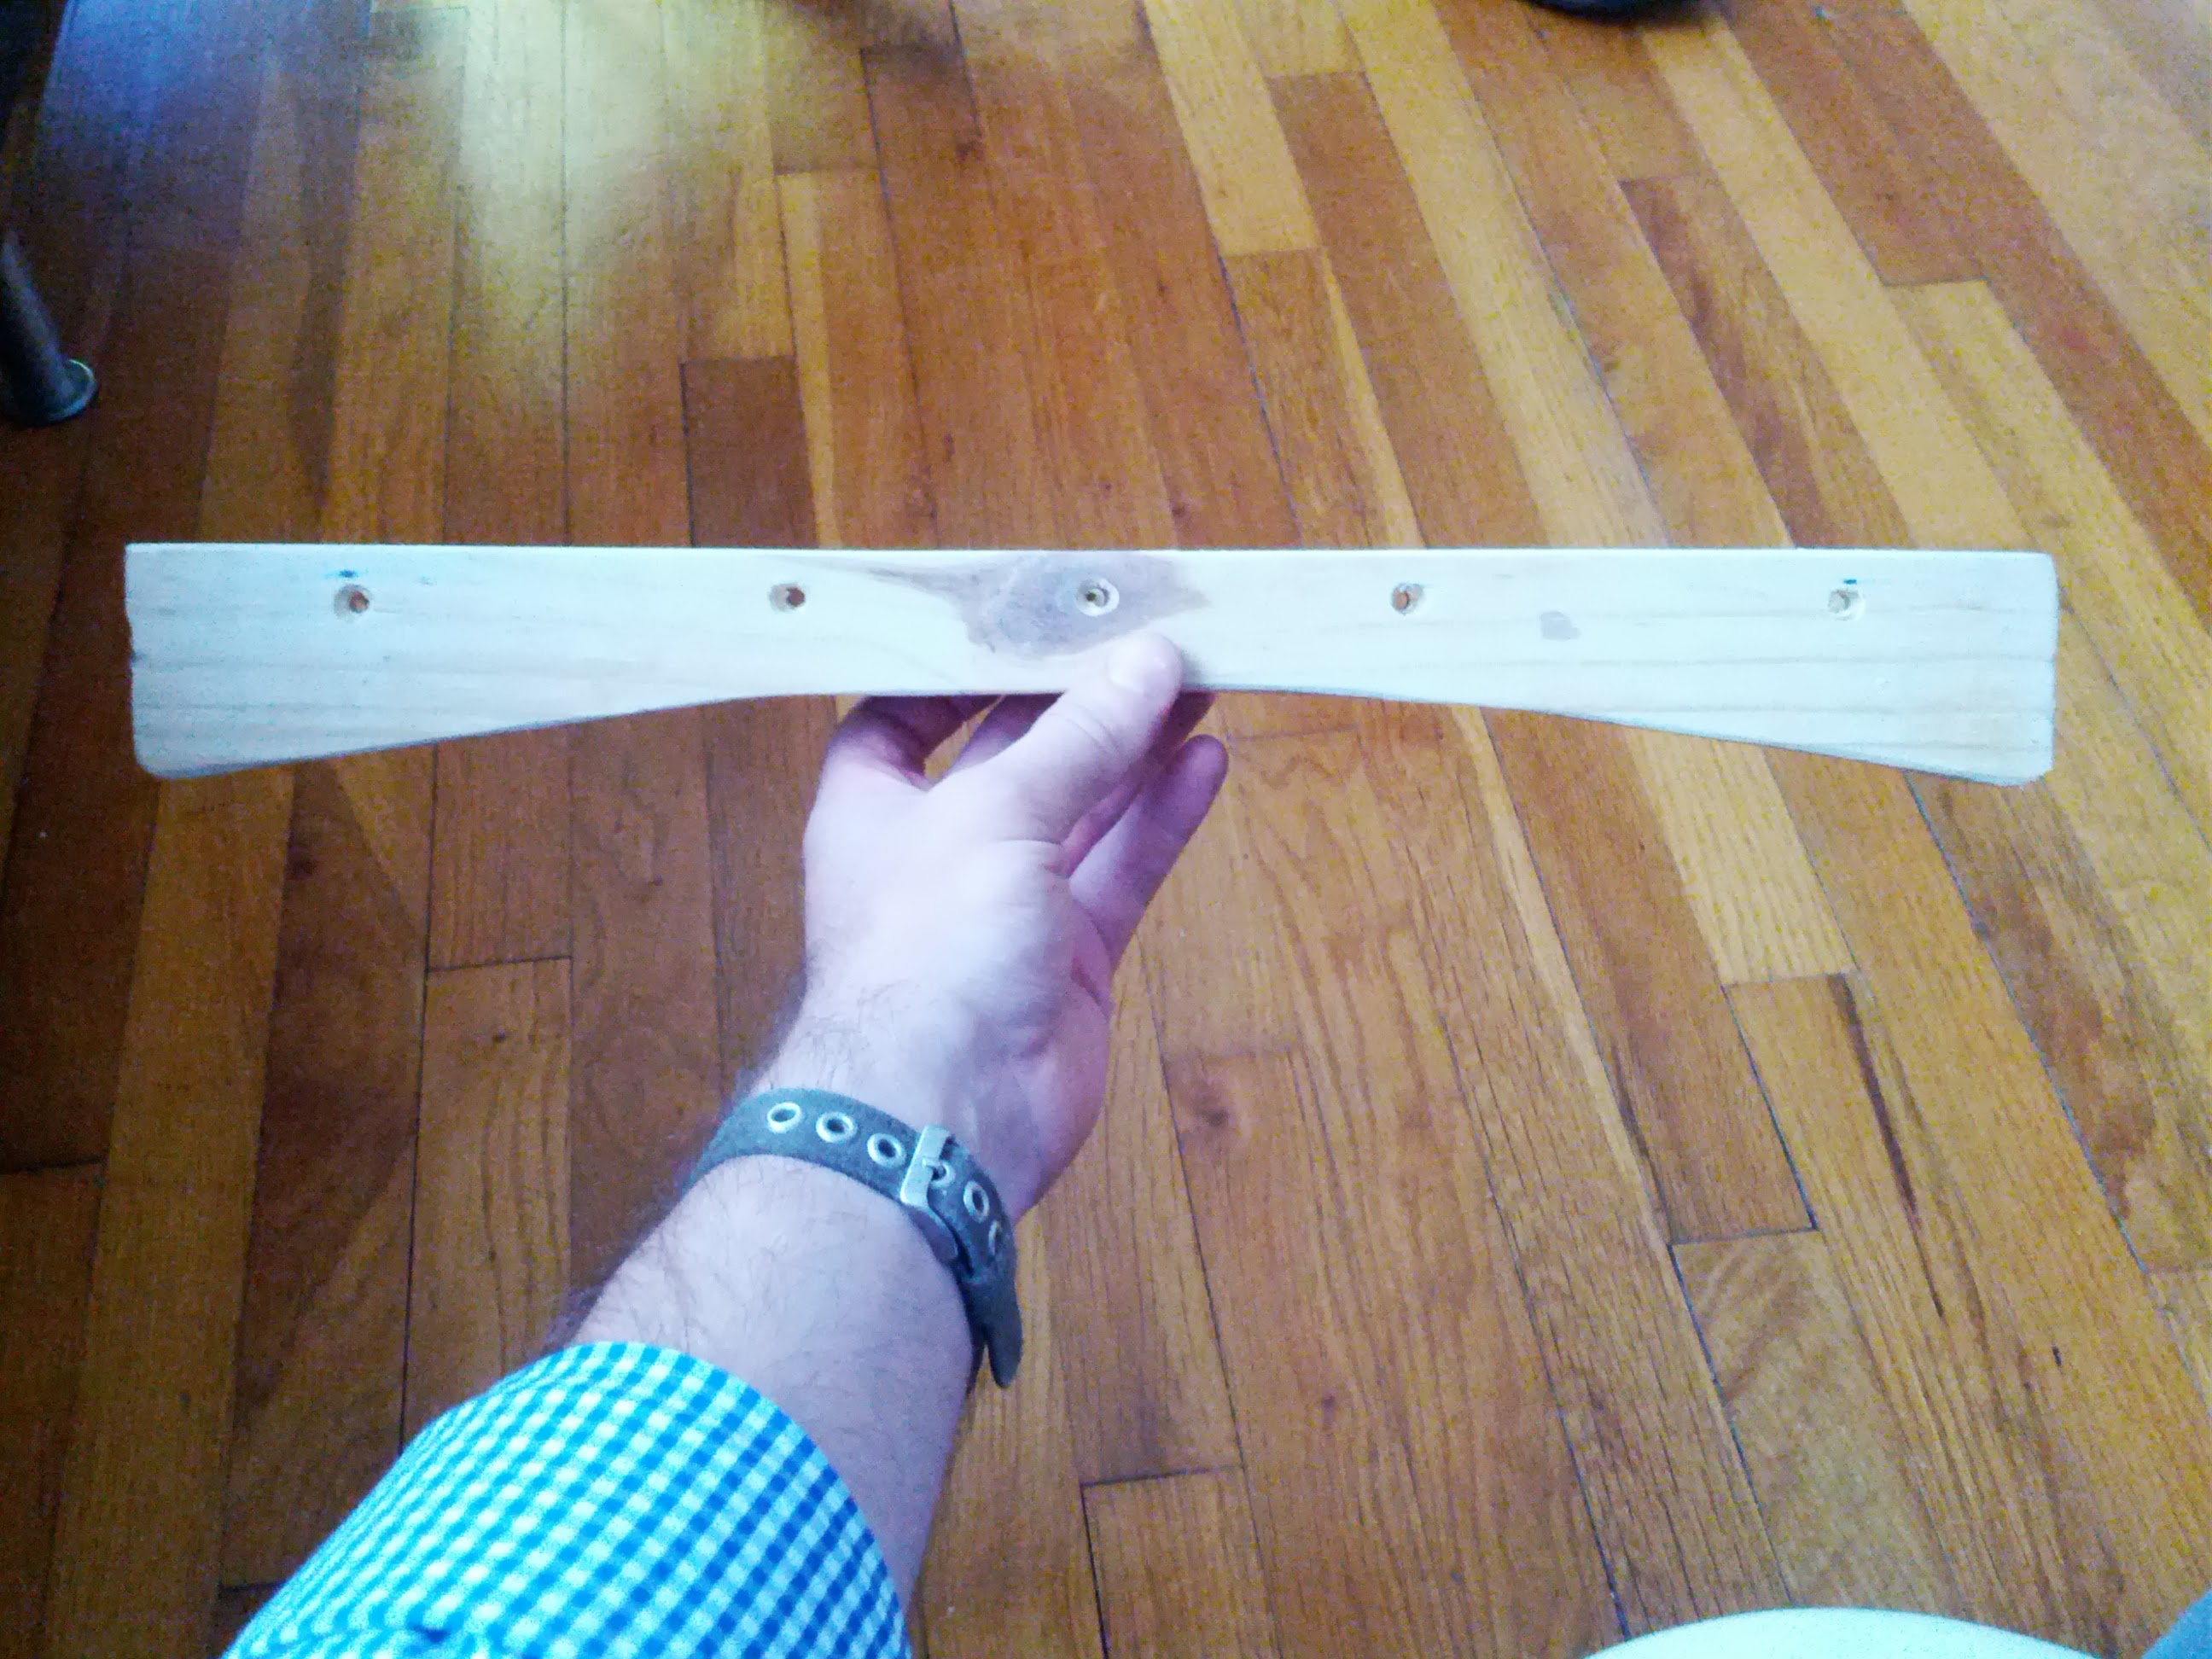
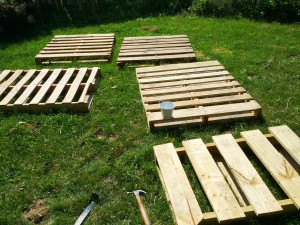
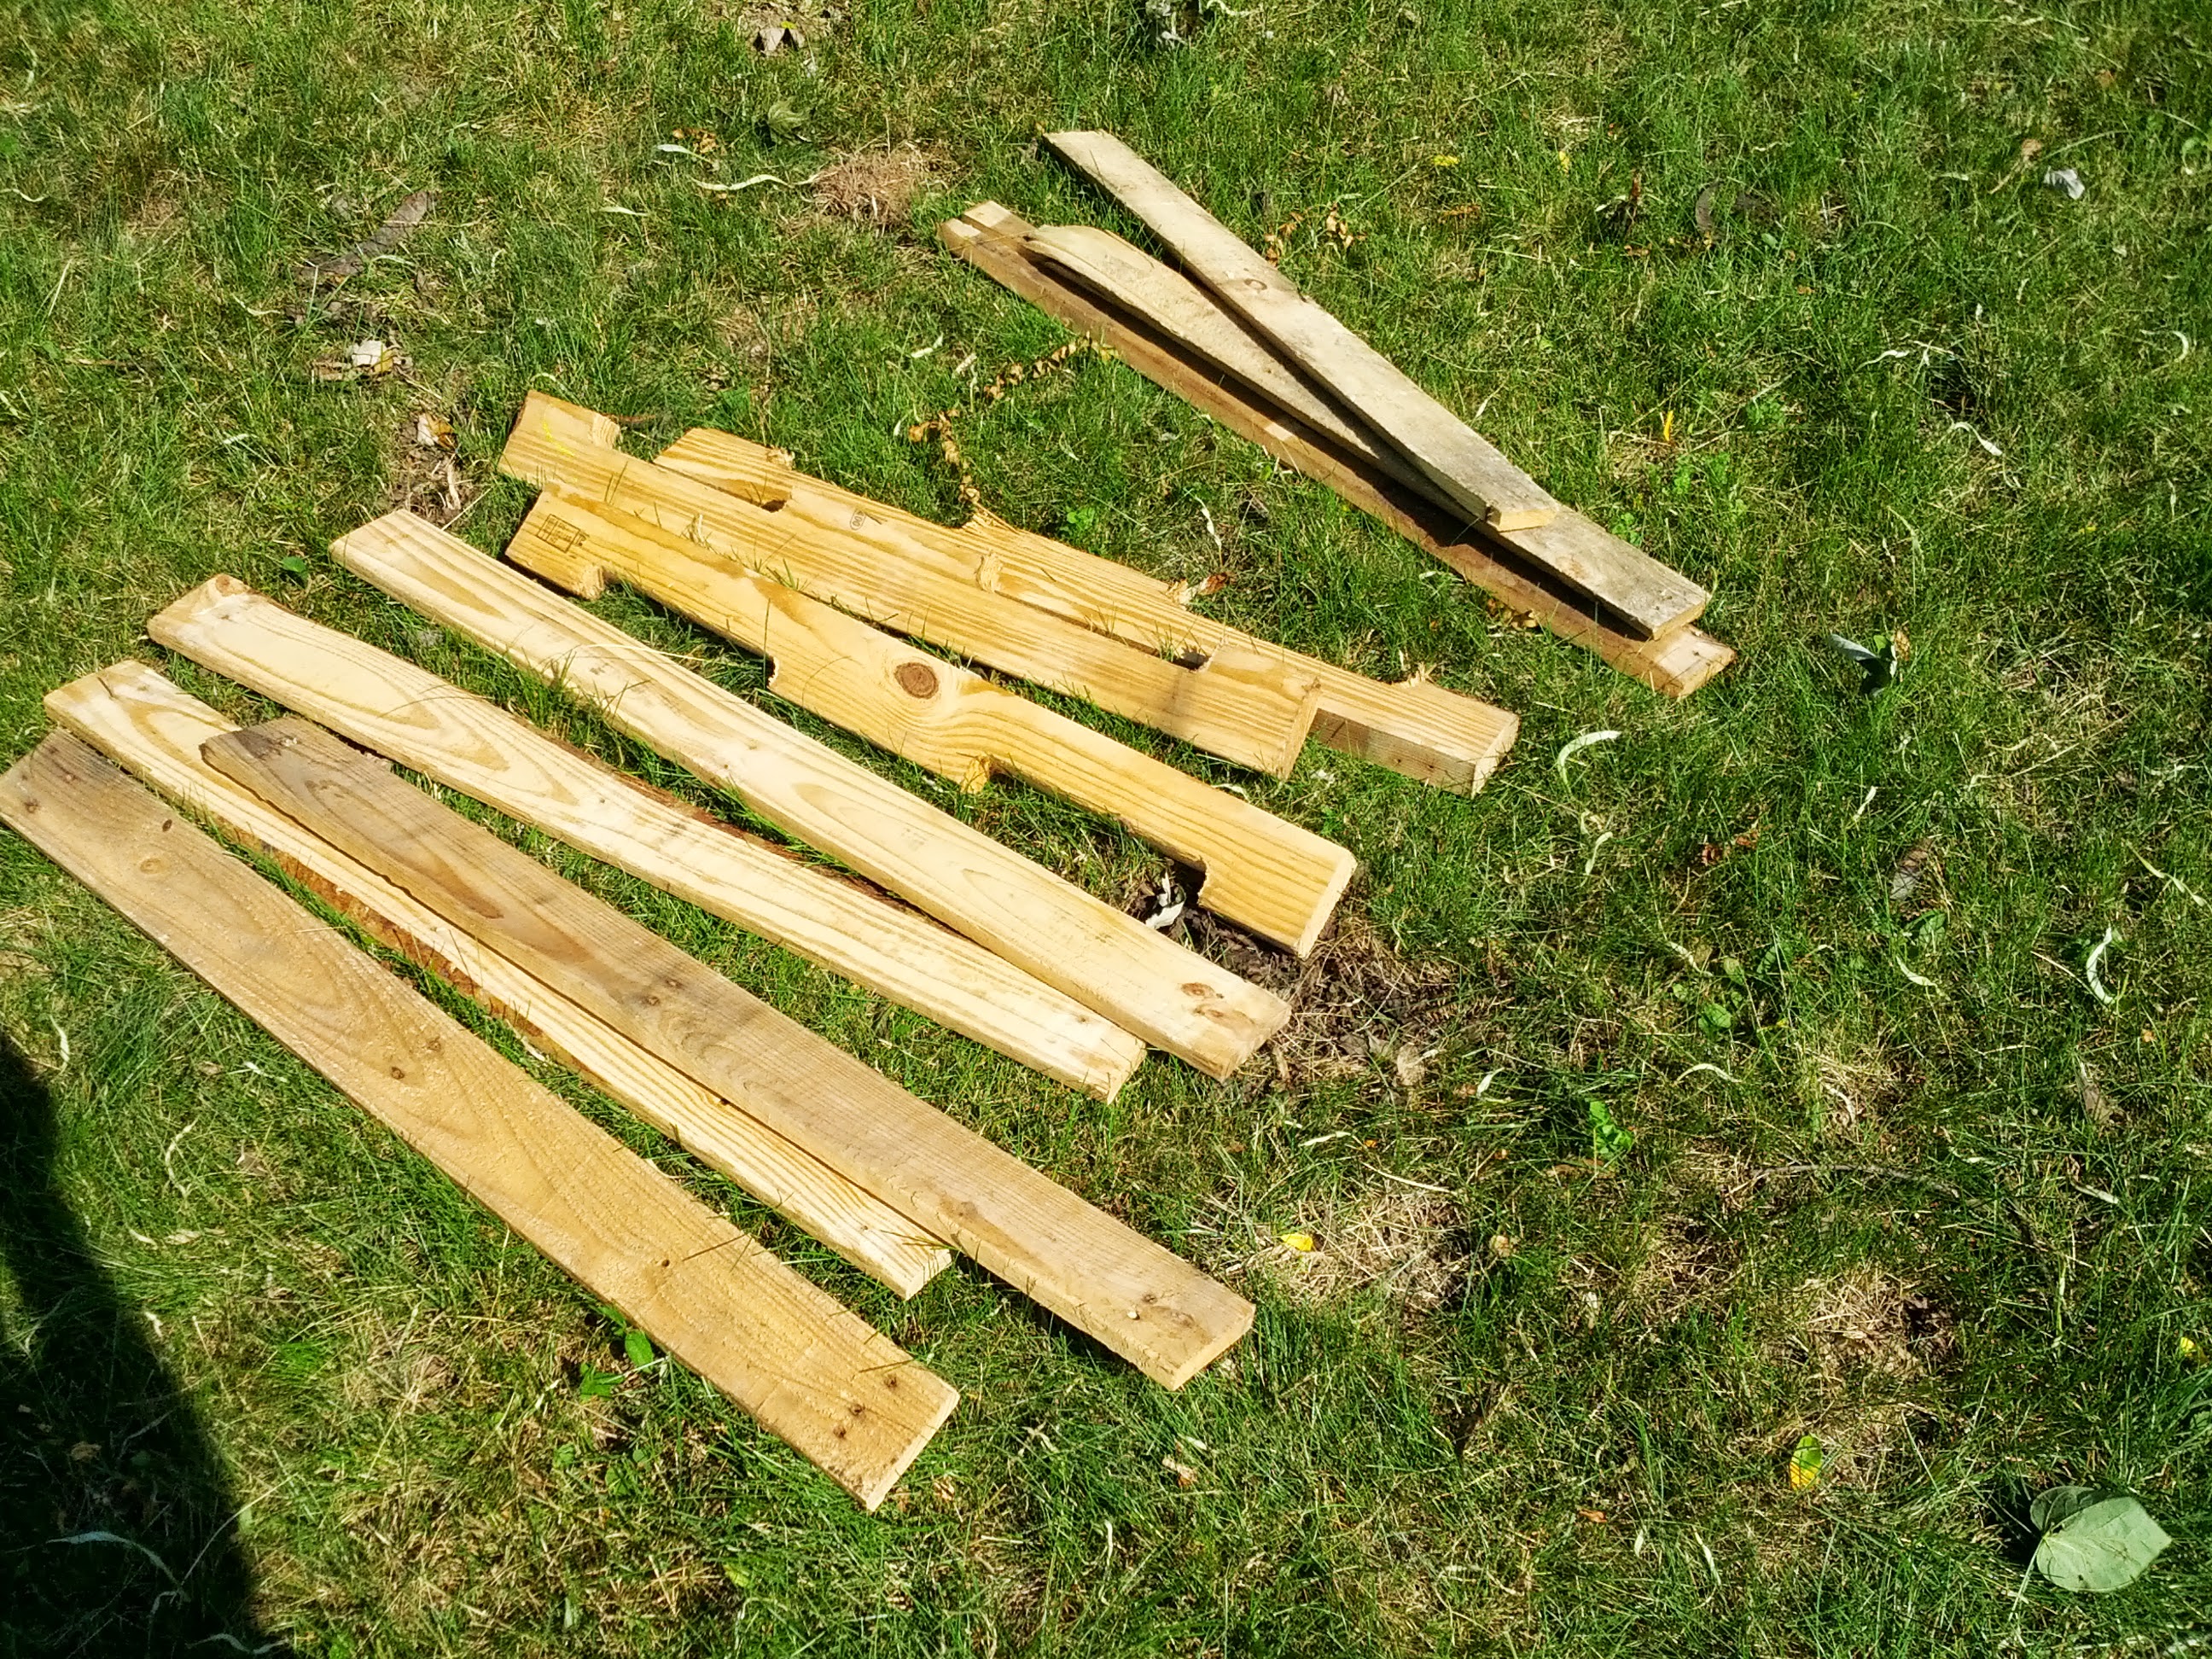
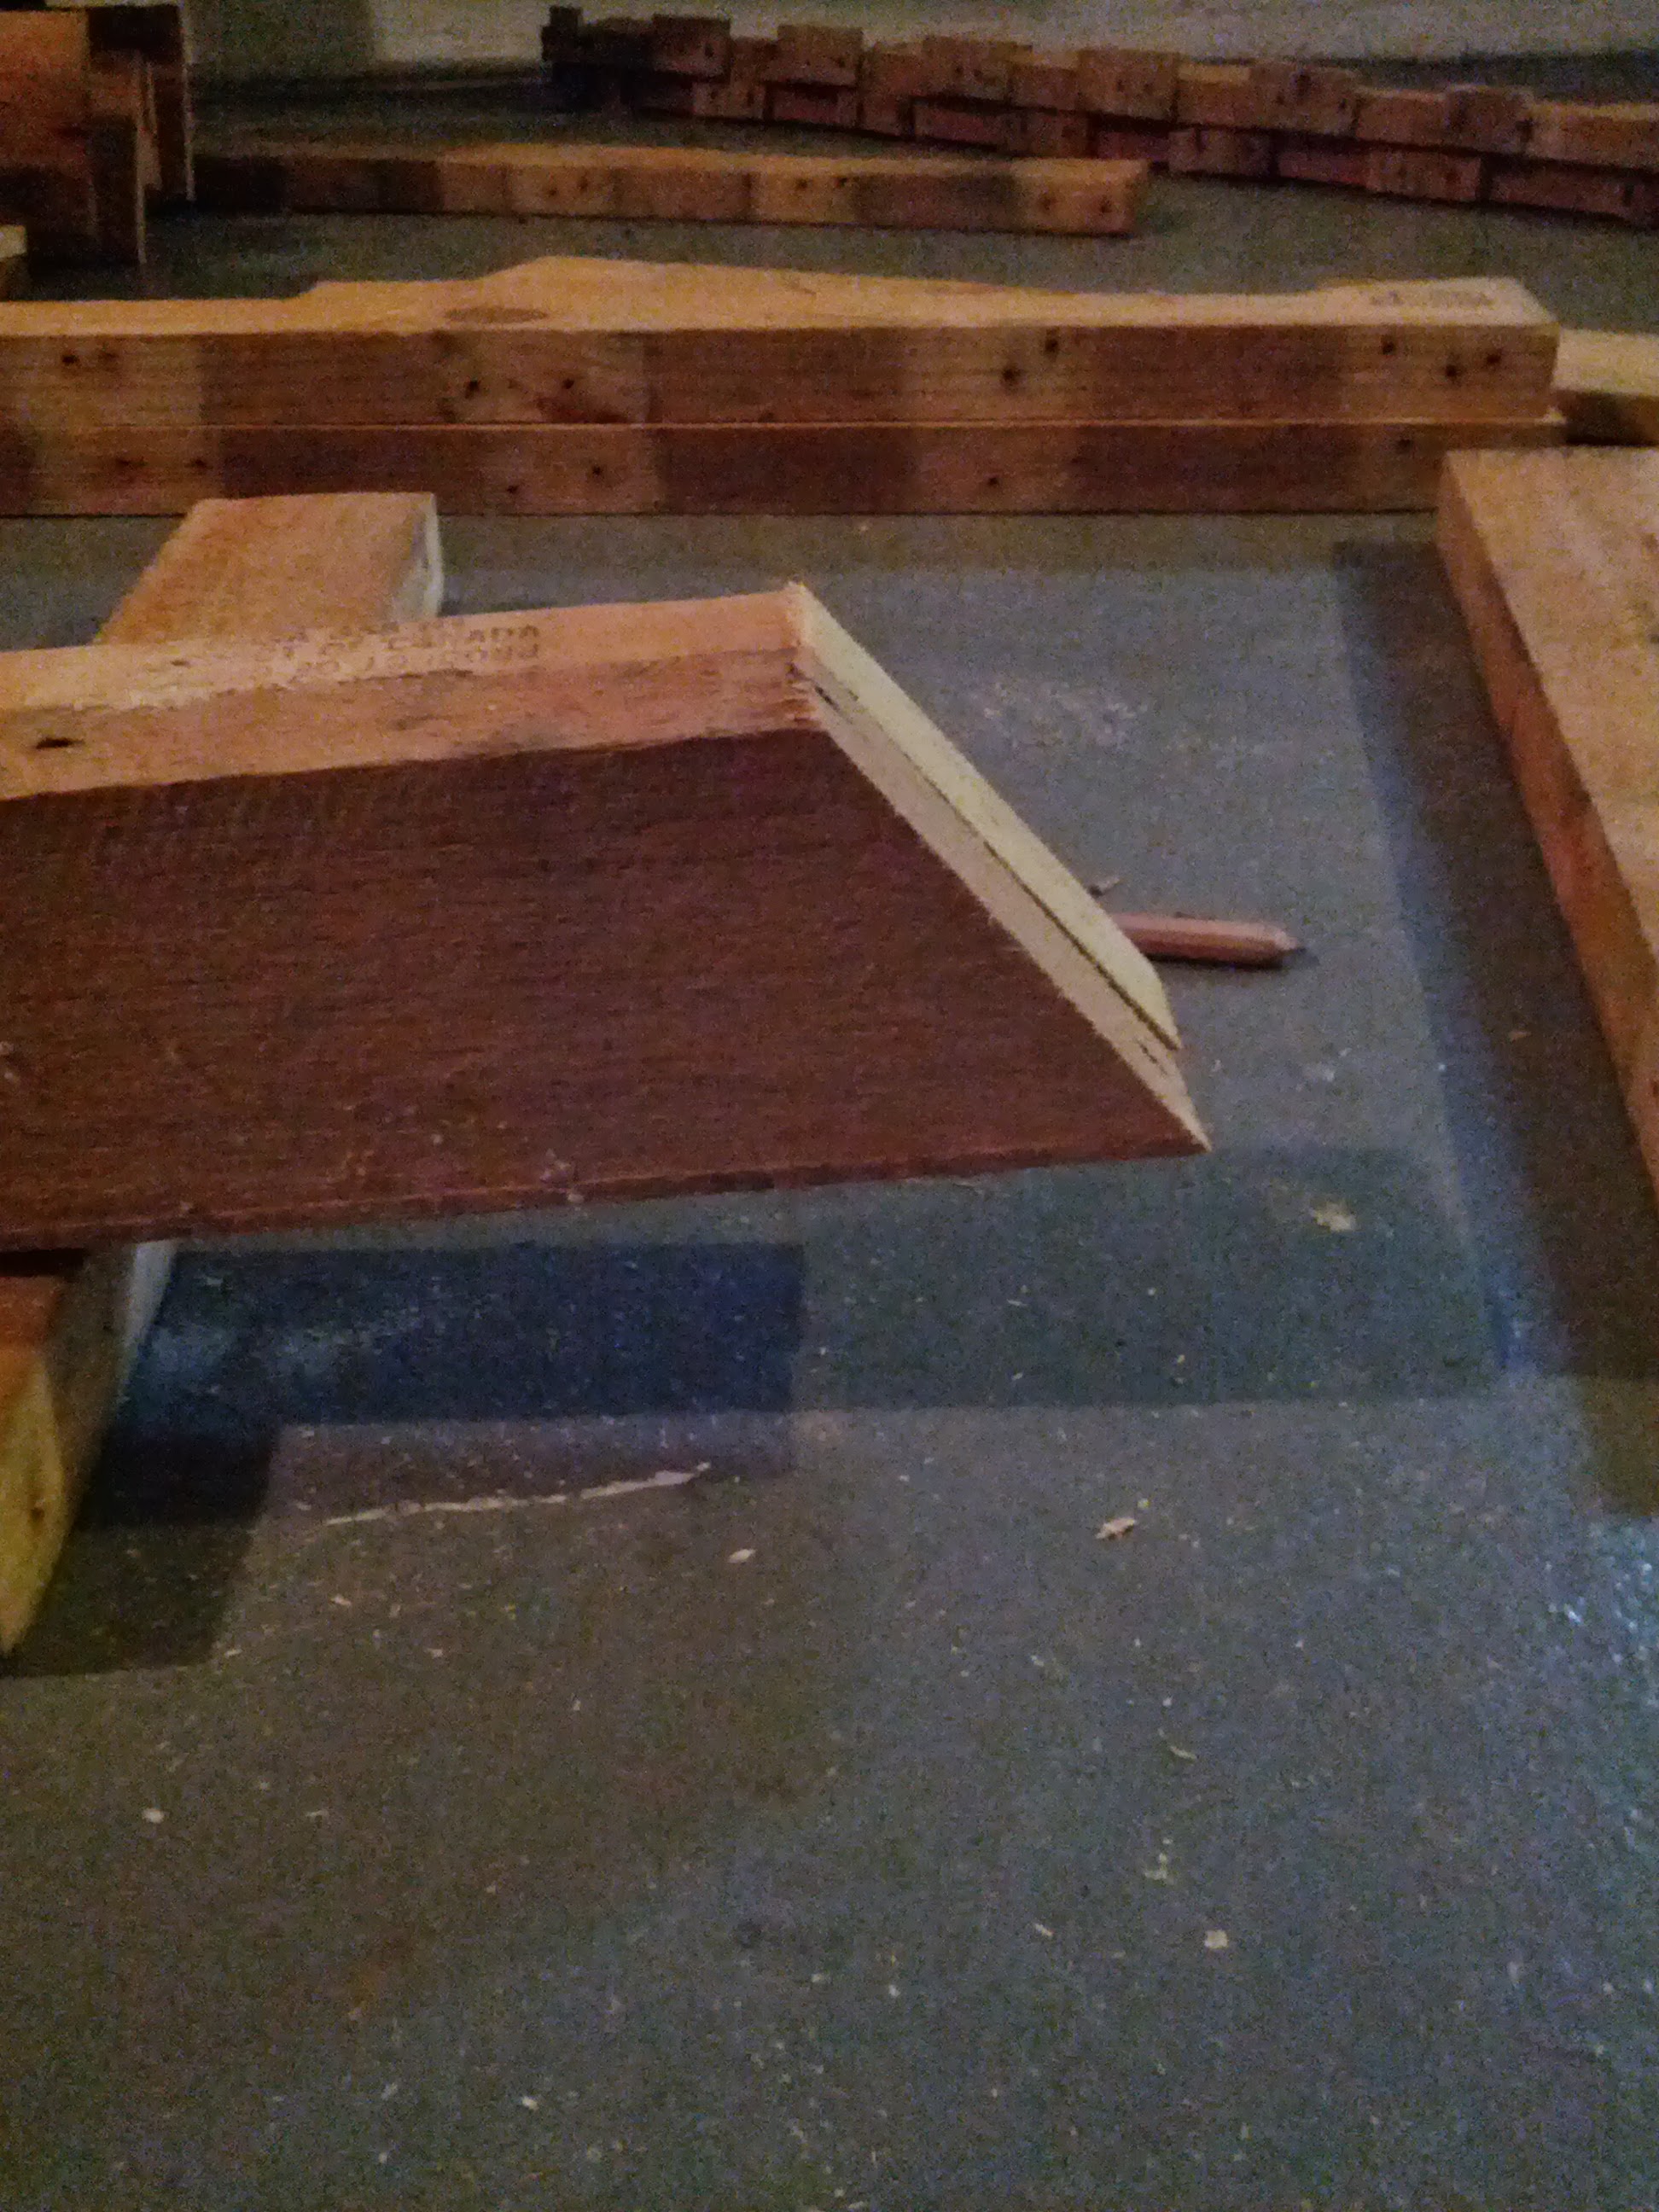
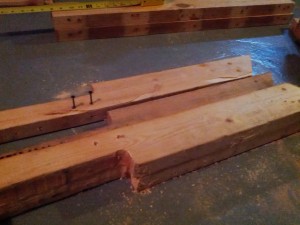
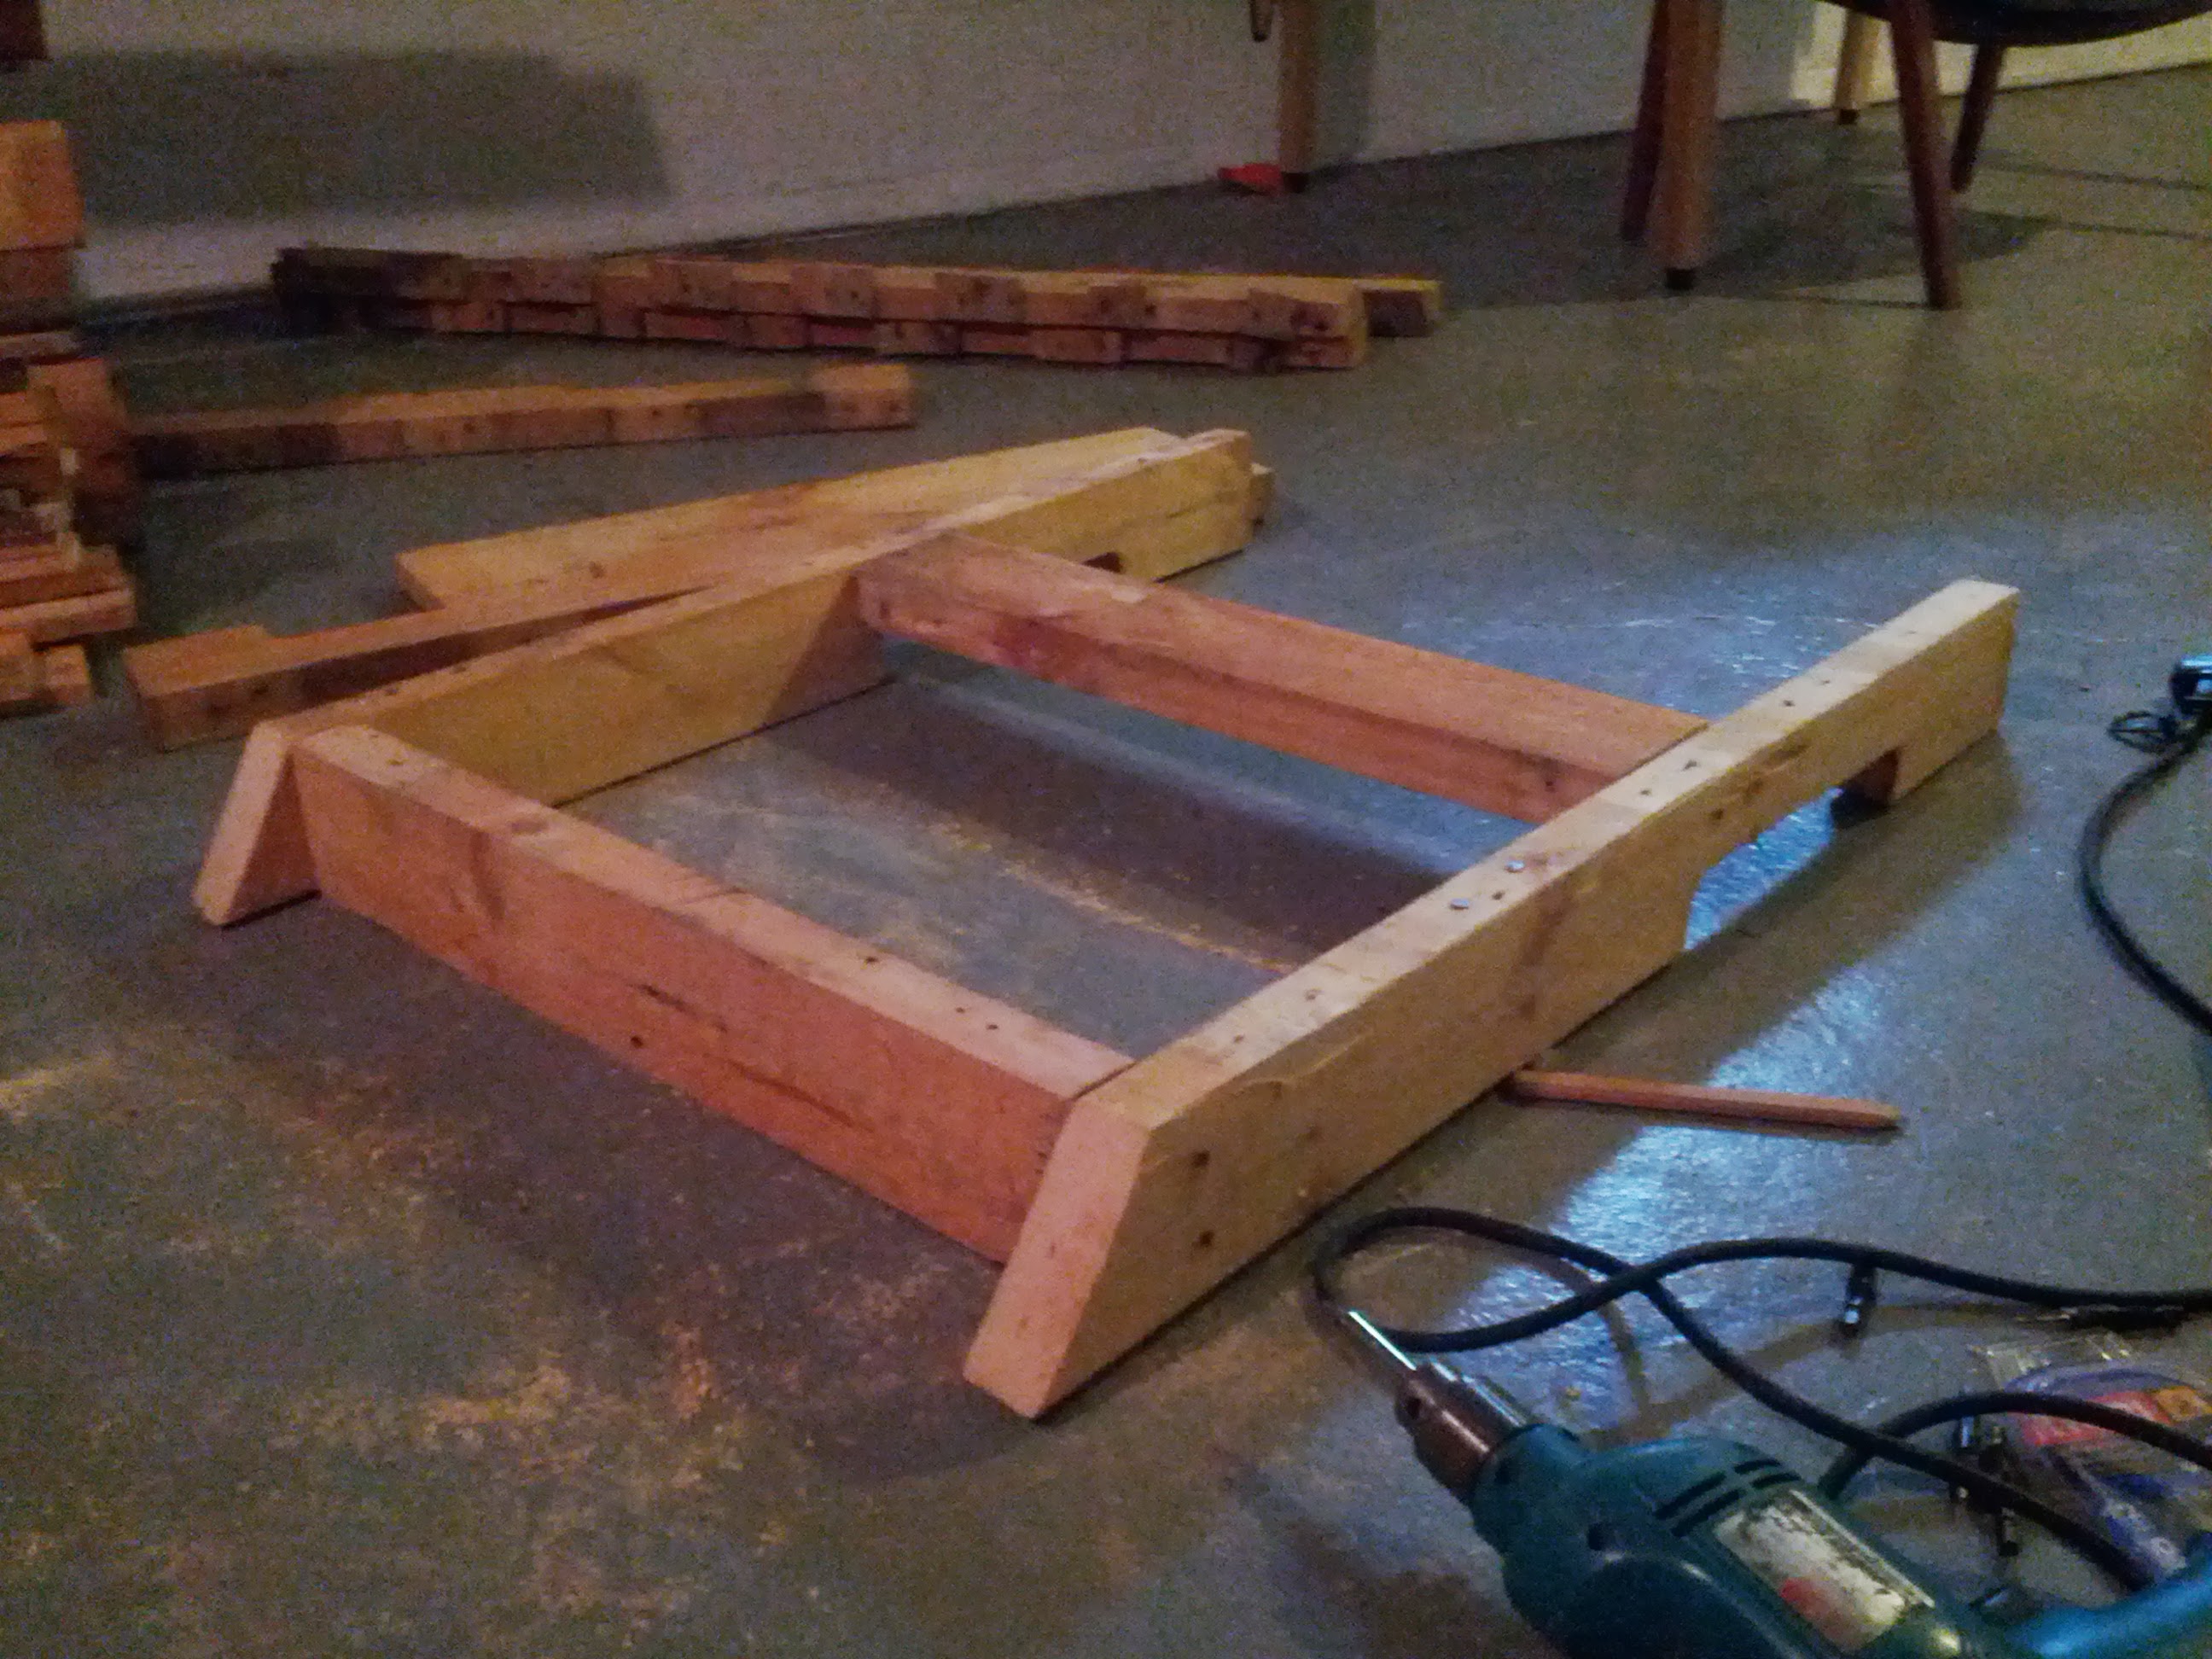
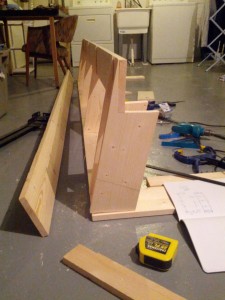
Piece of hardwood that’s about 4x4x24″.

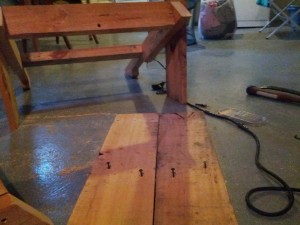
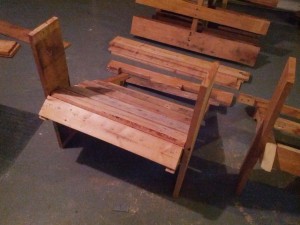
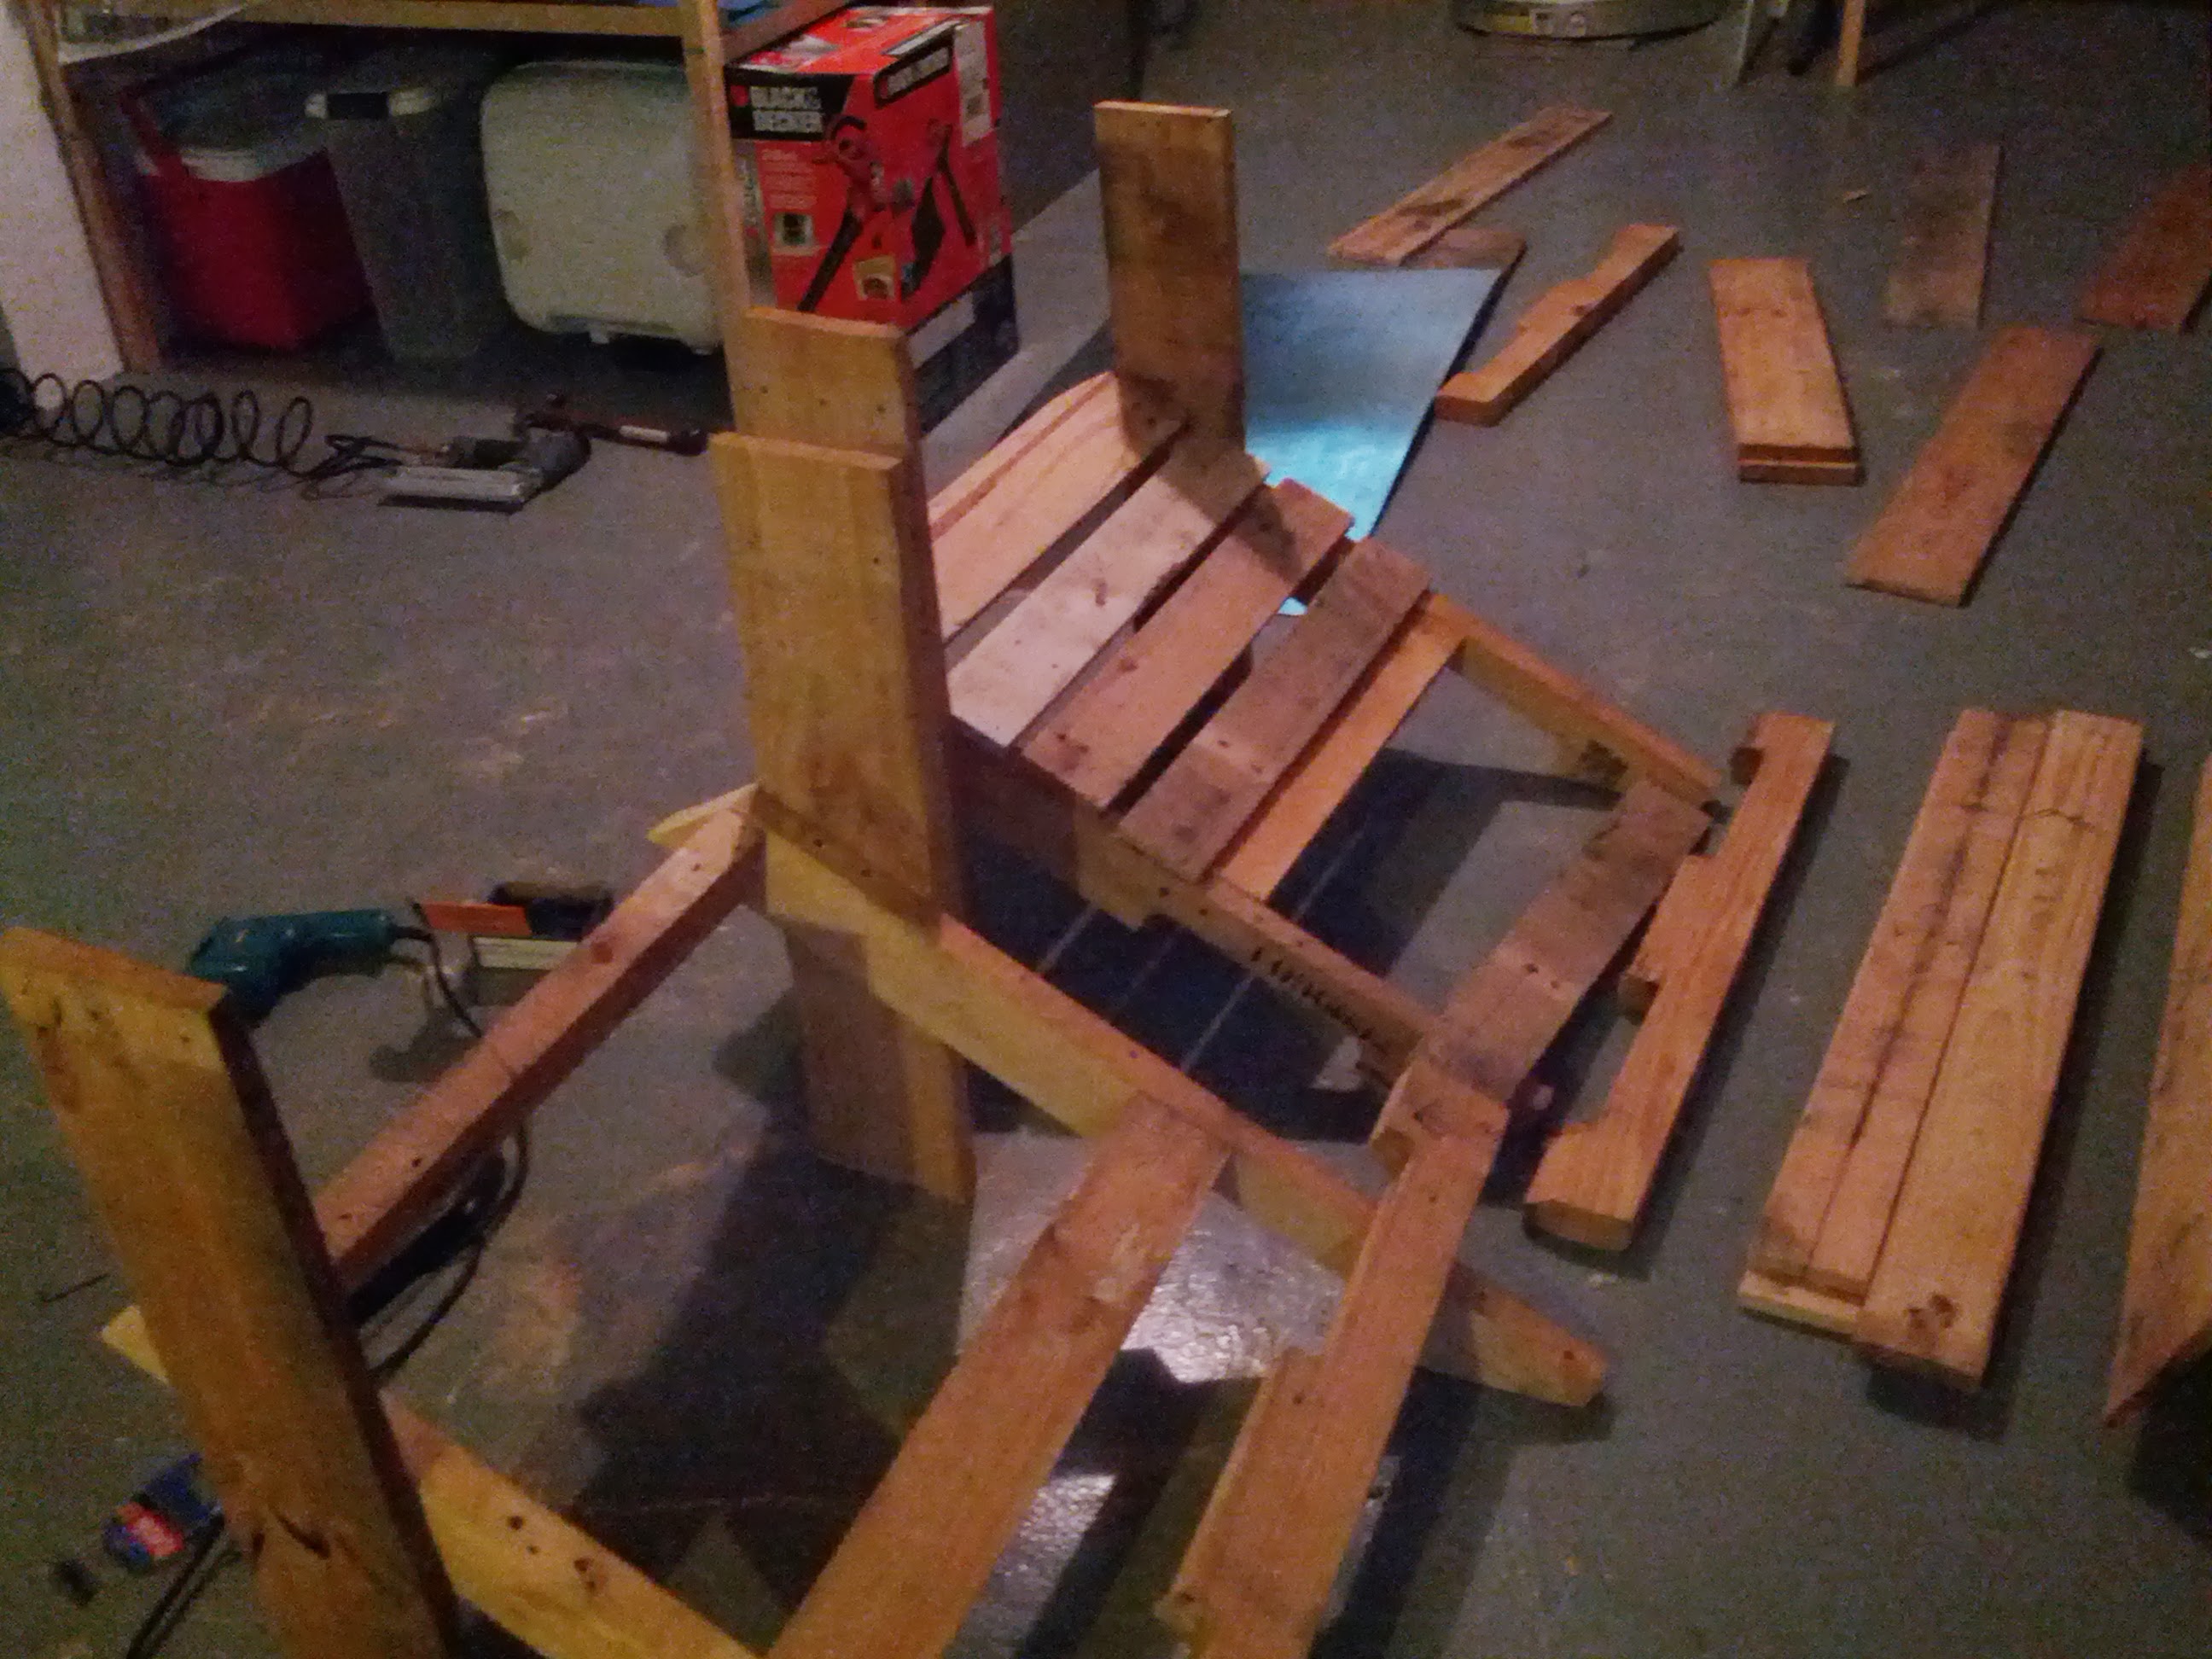
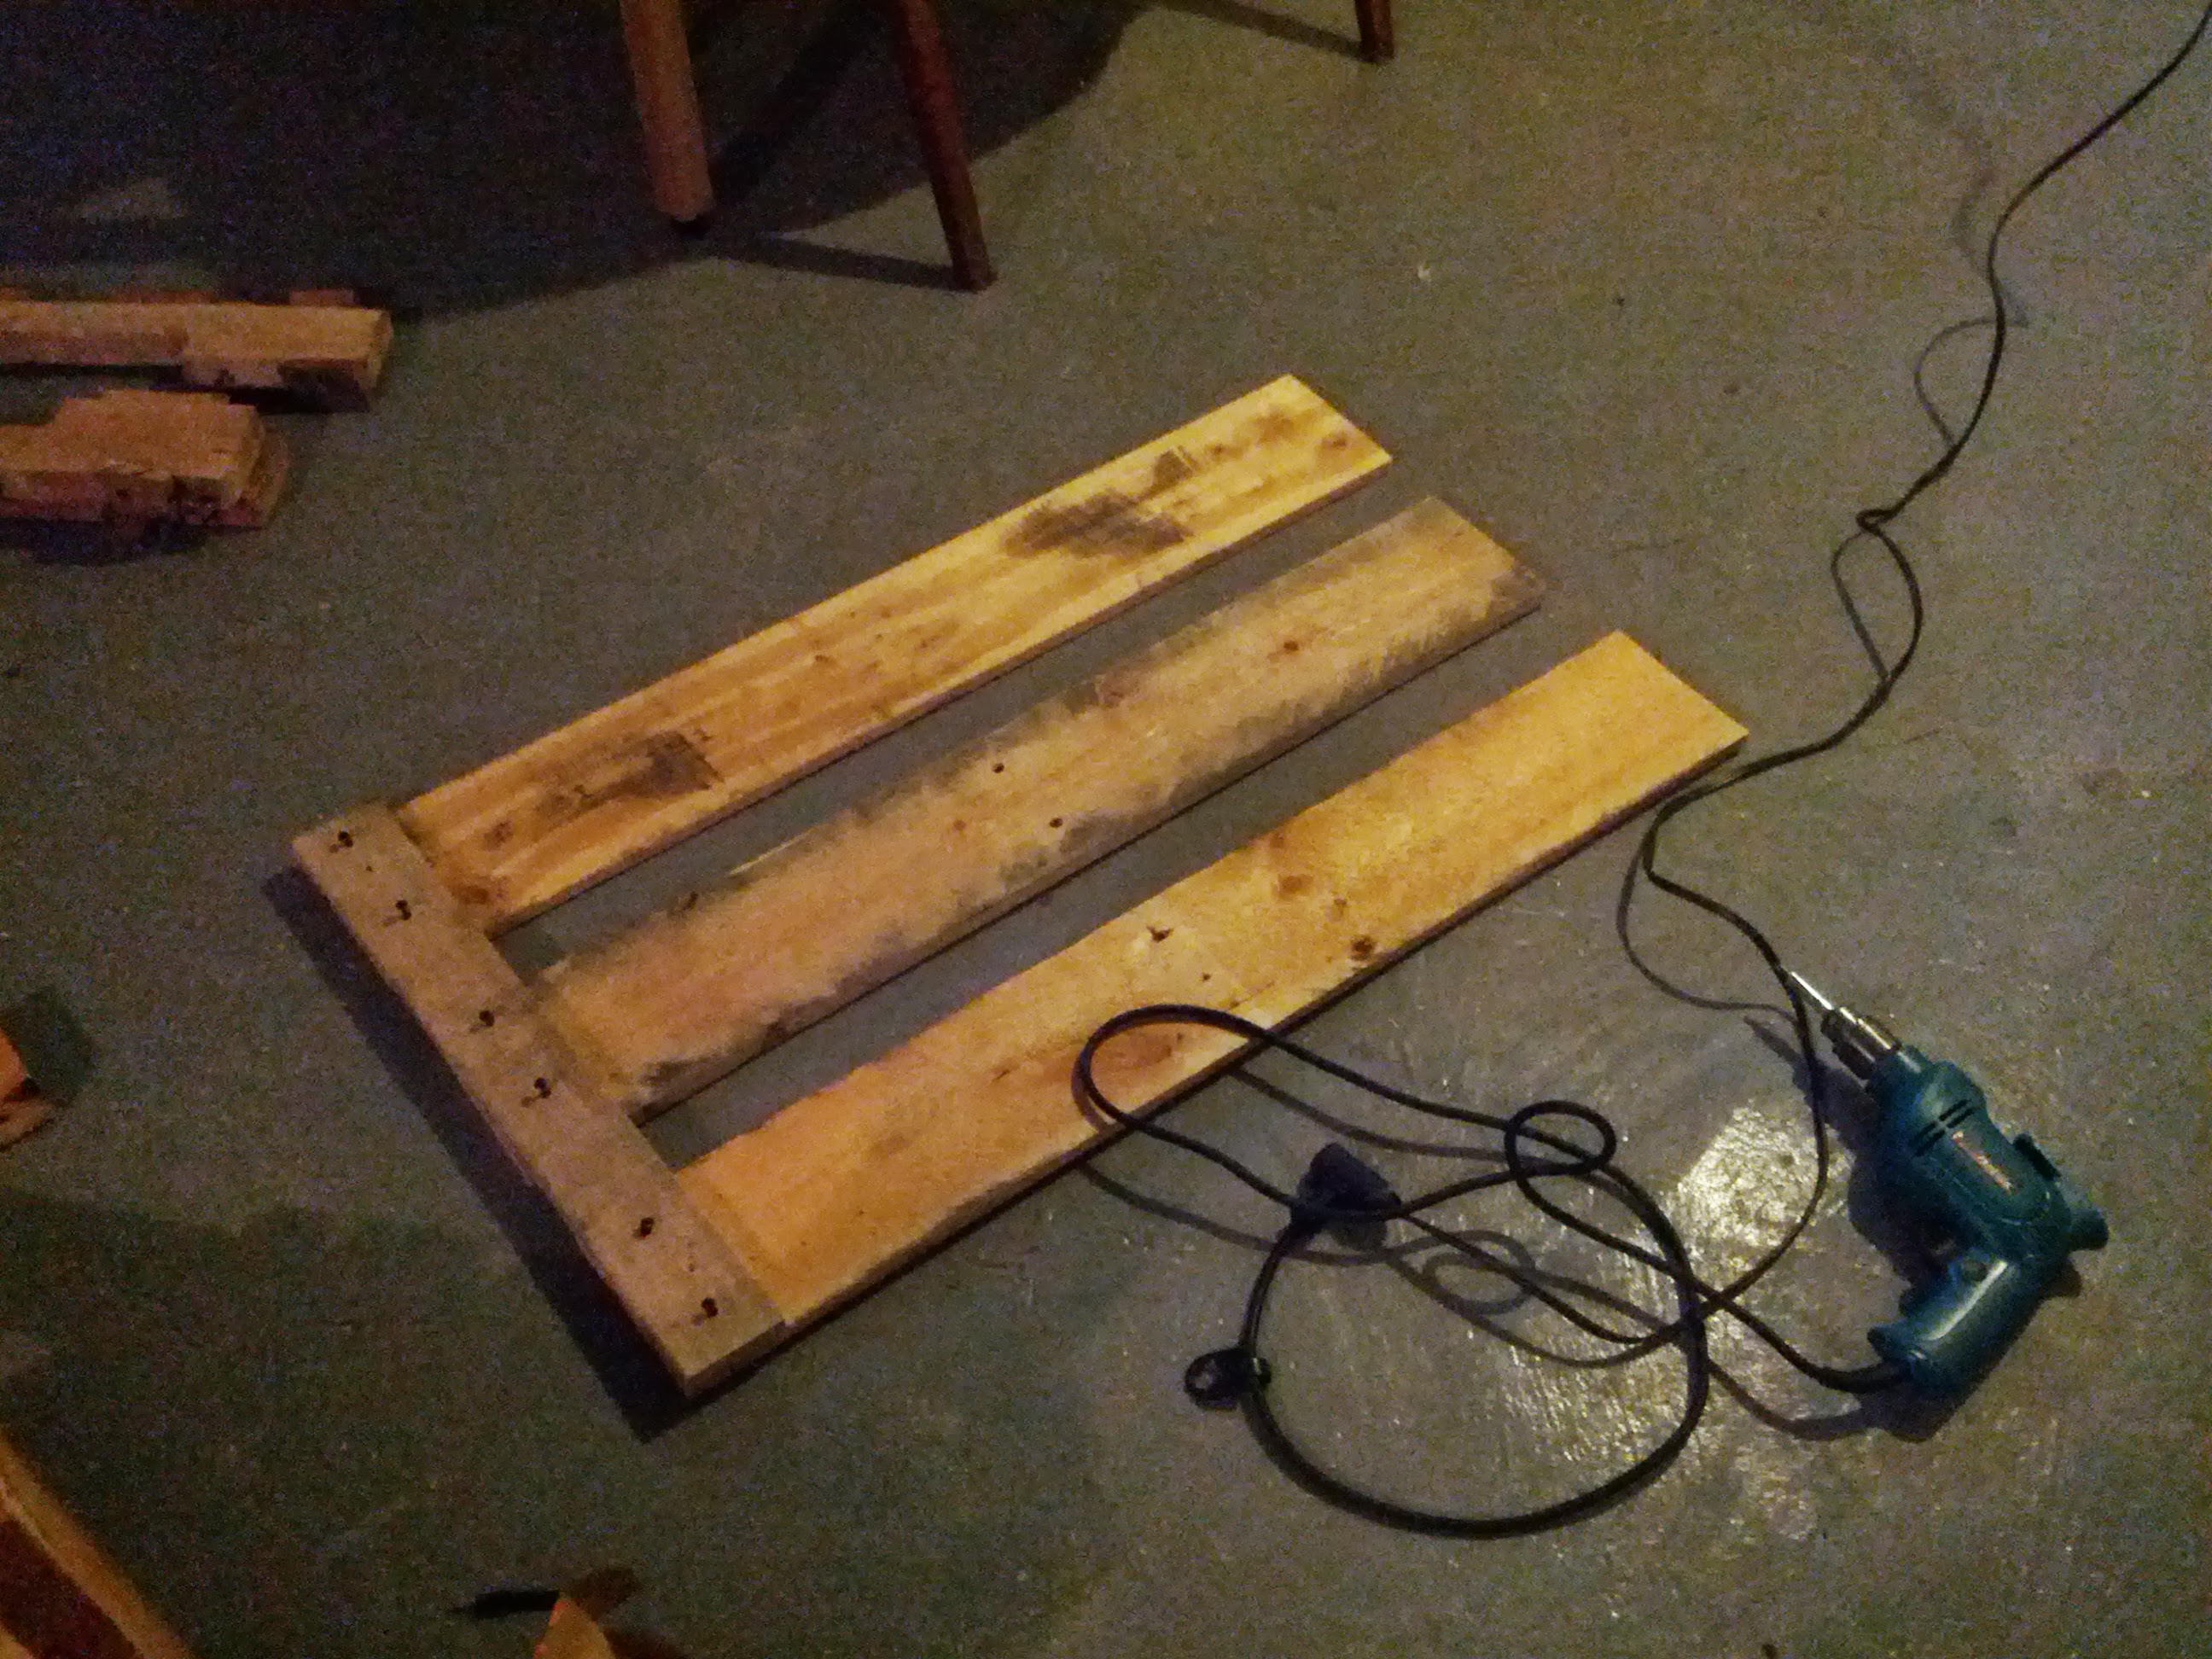
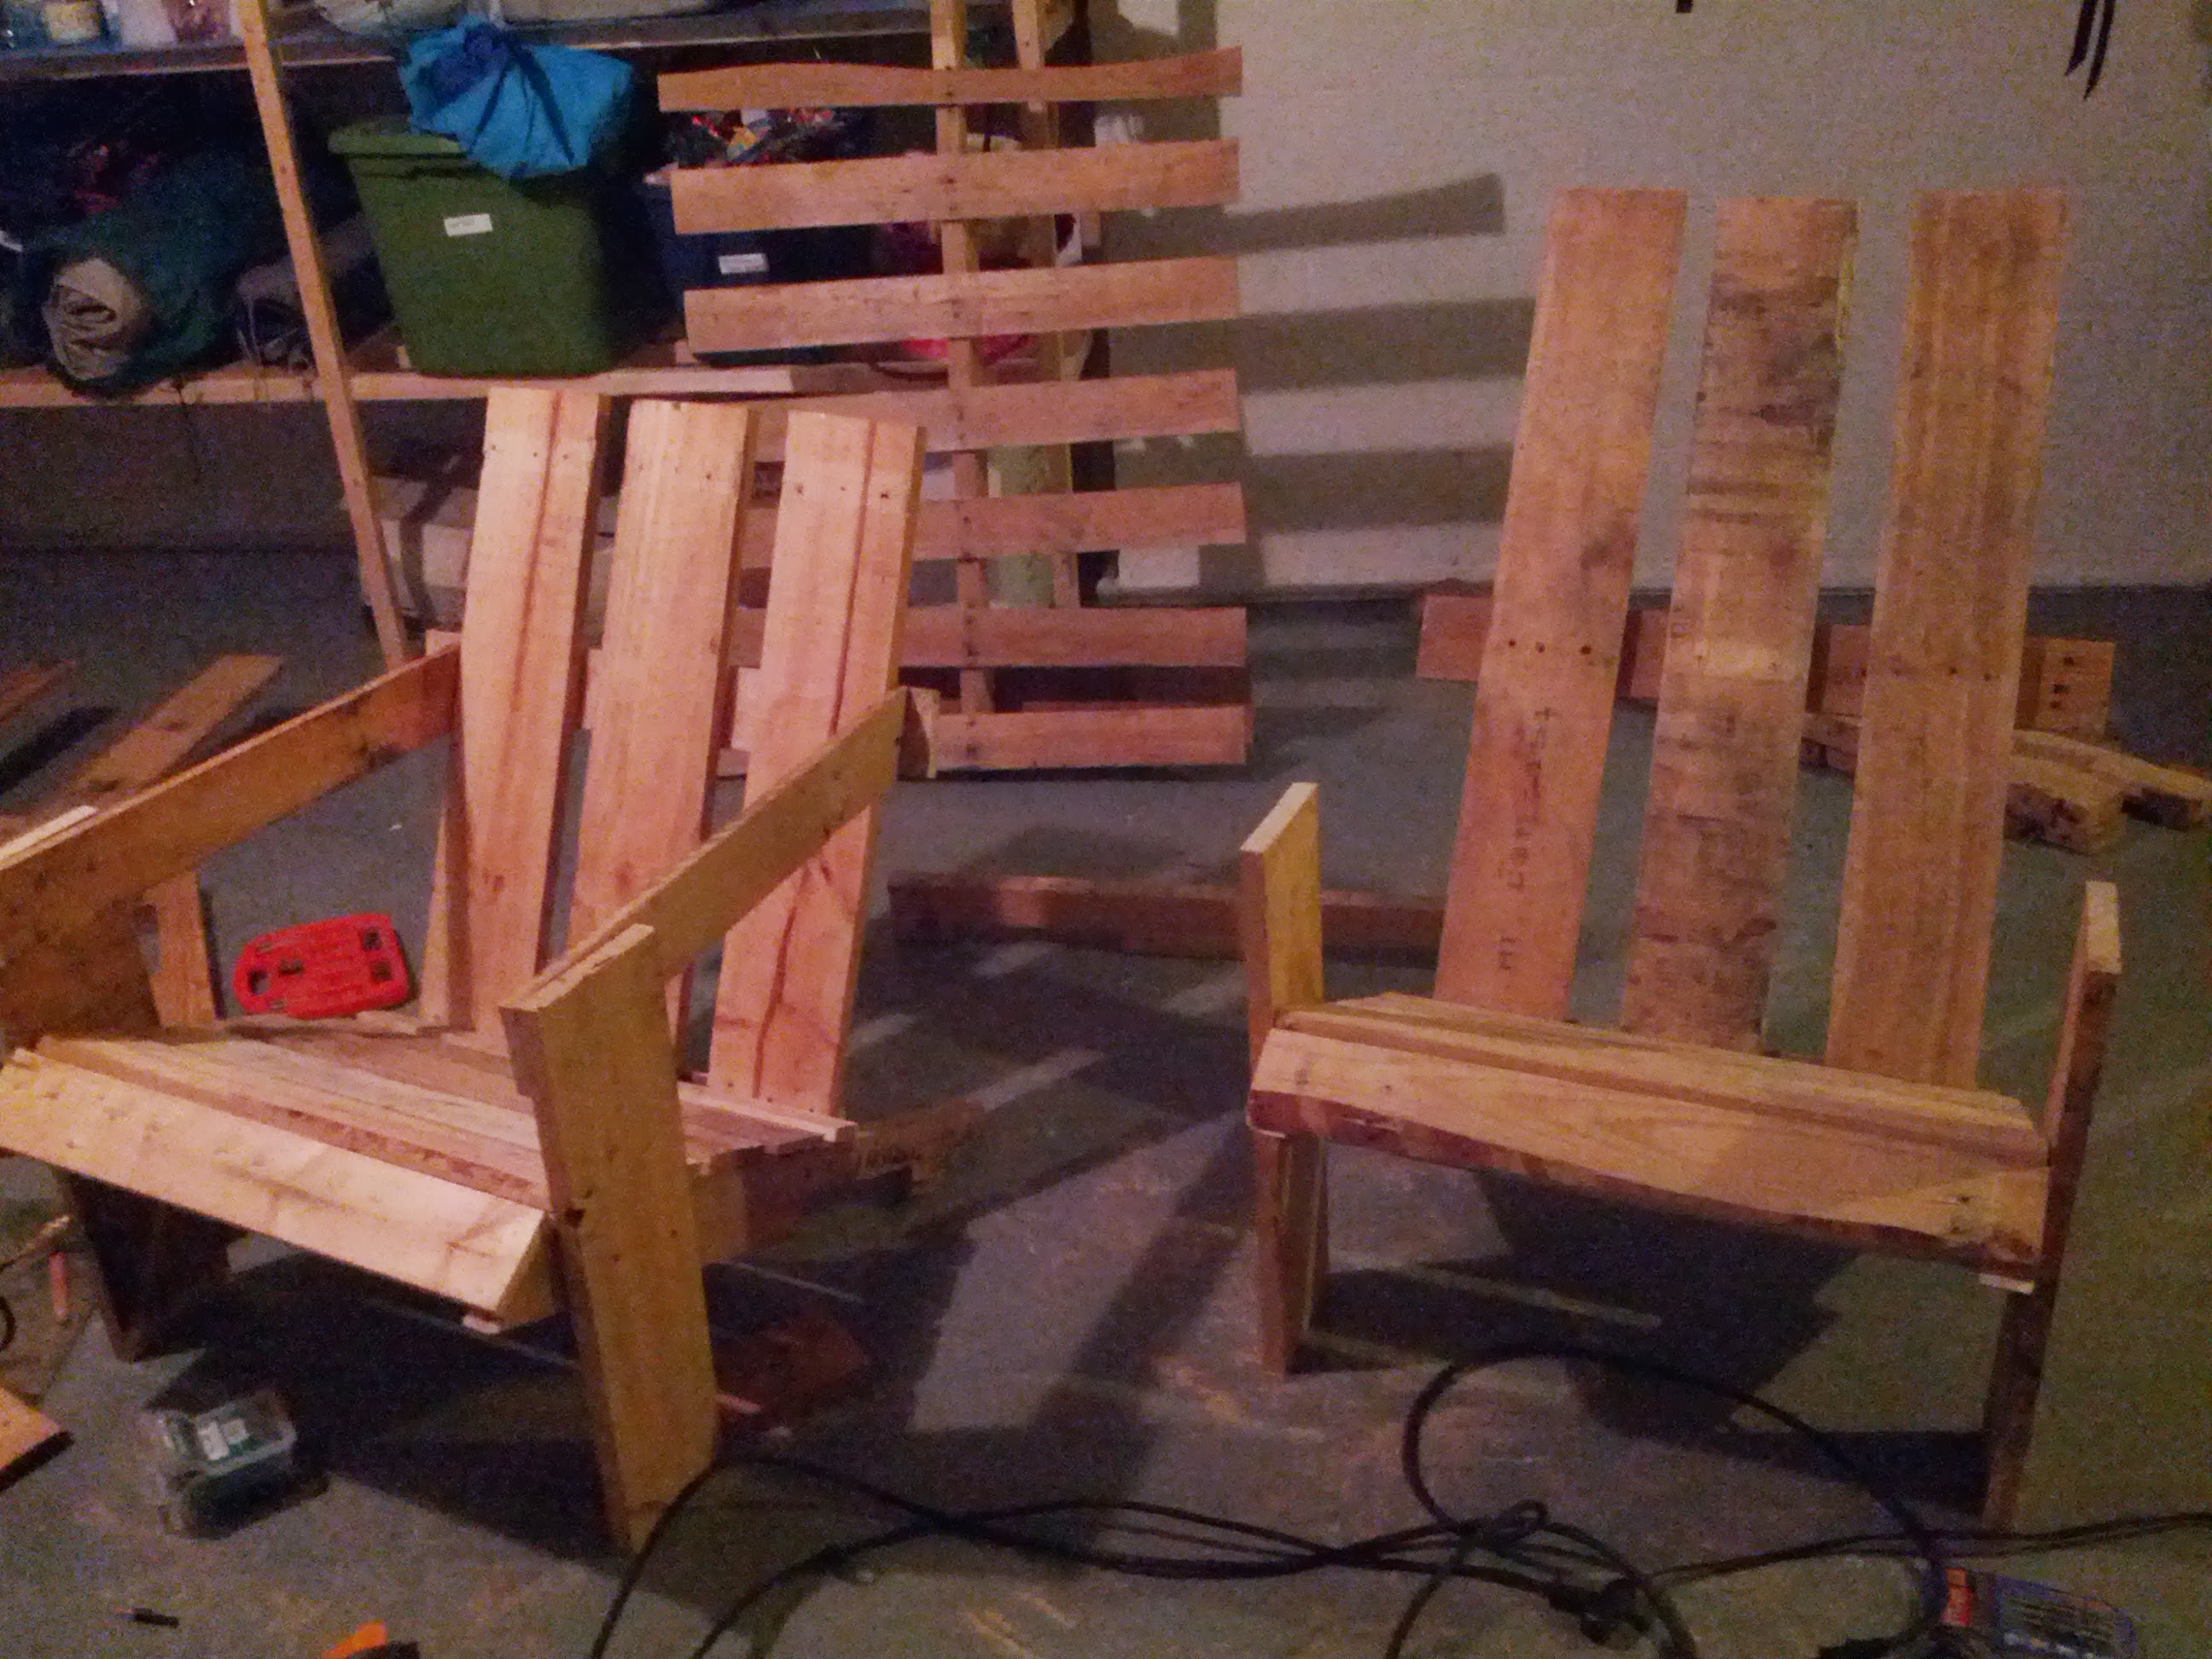
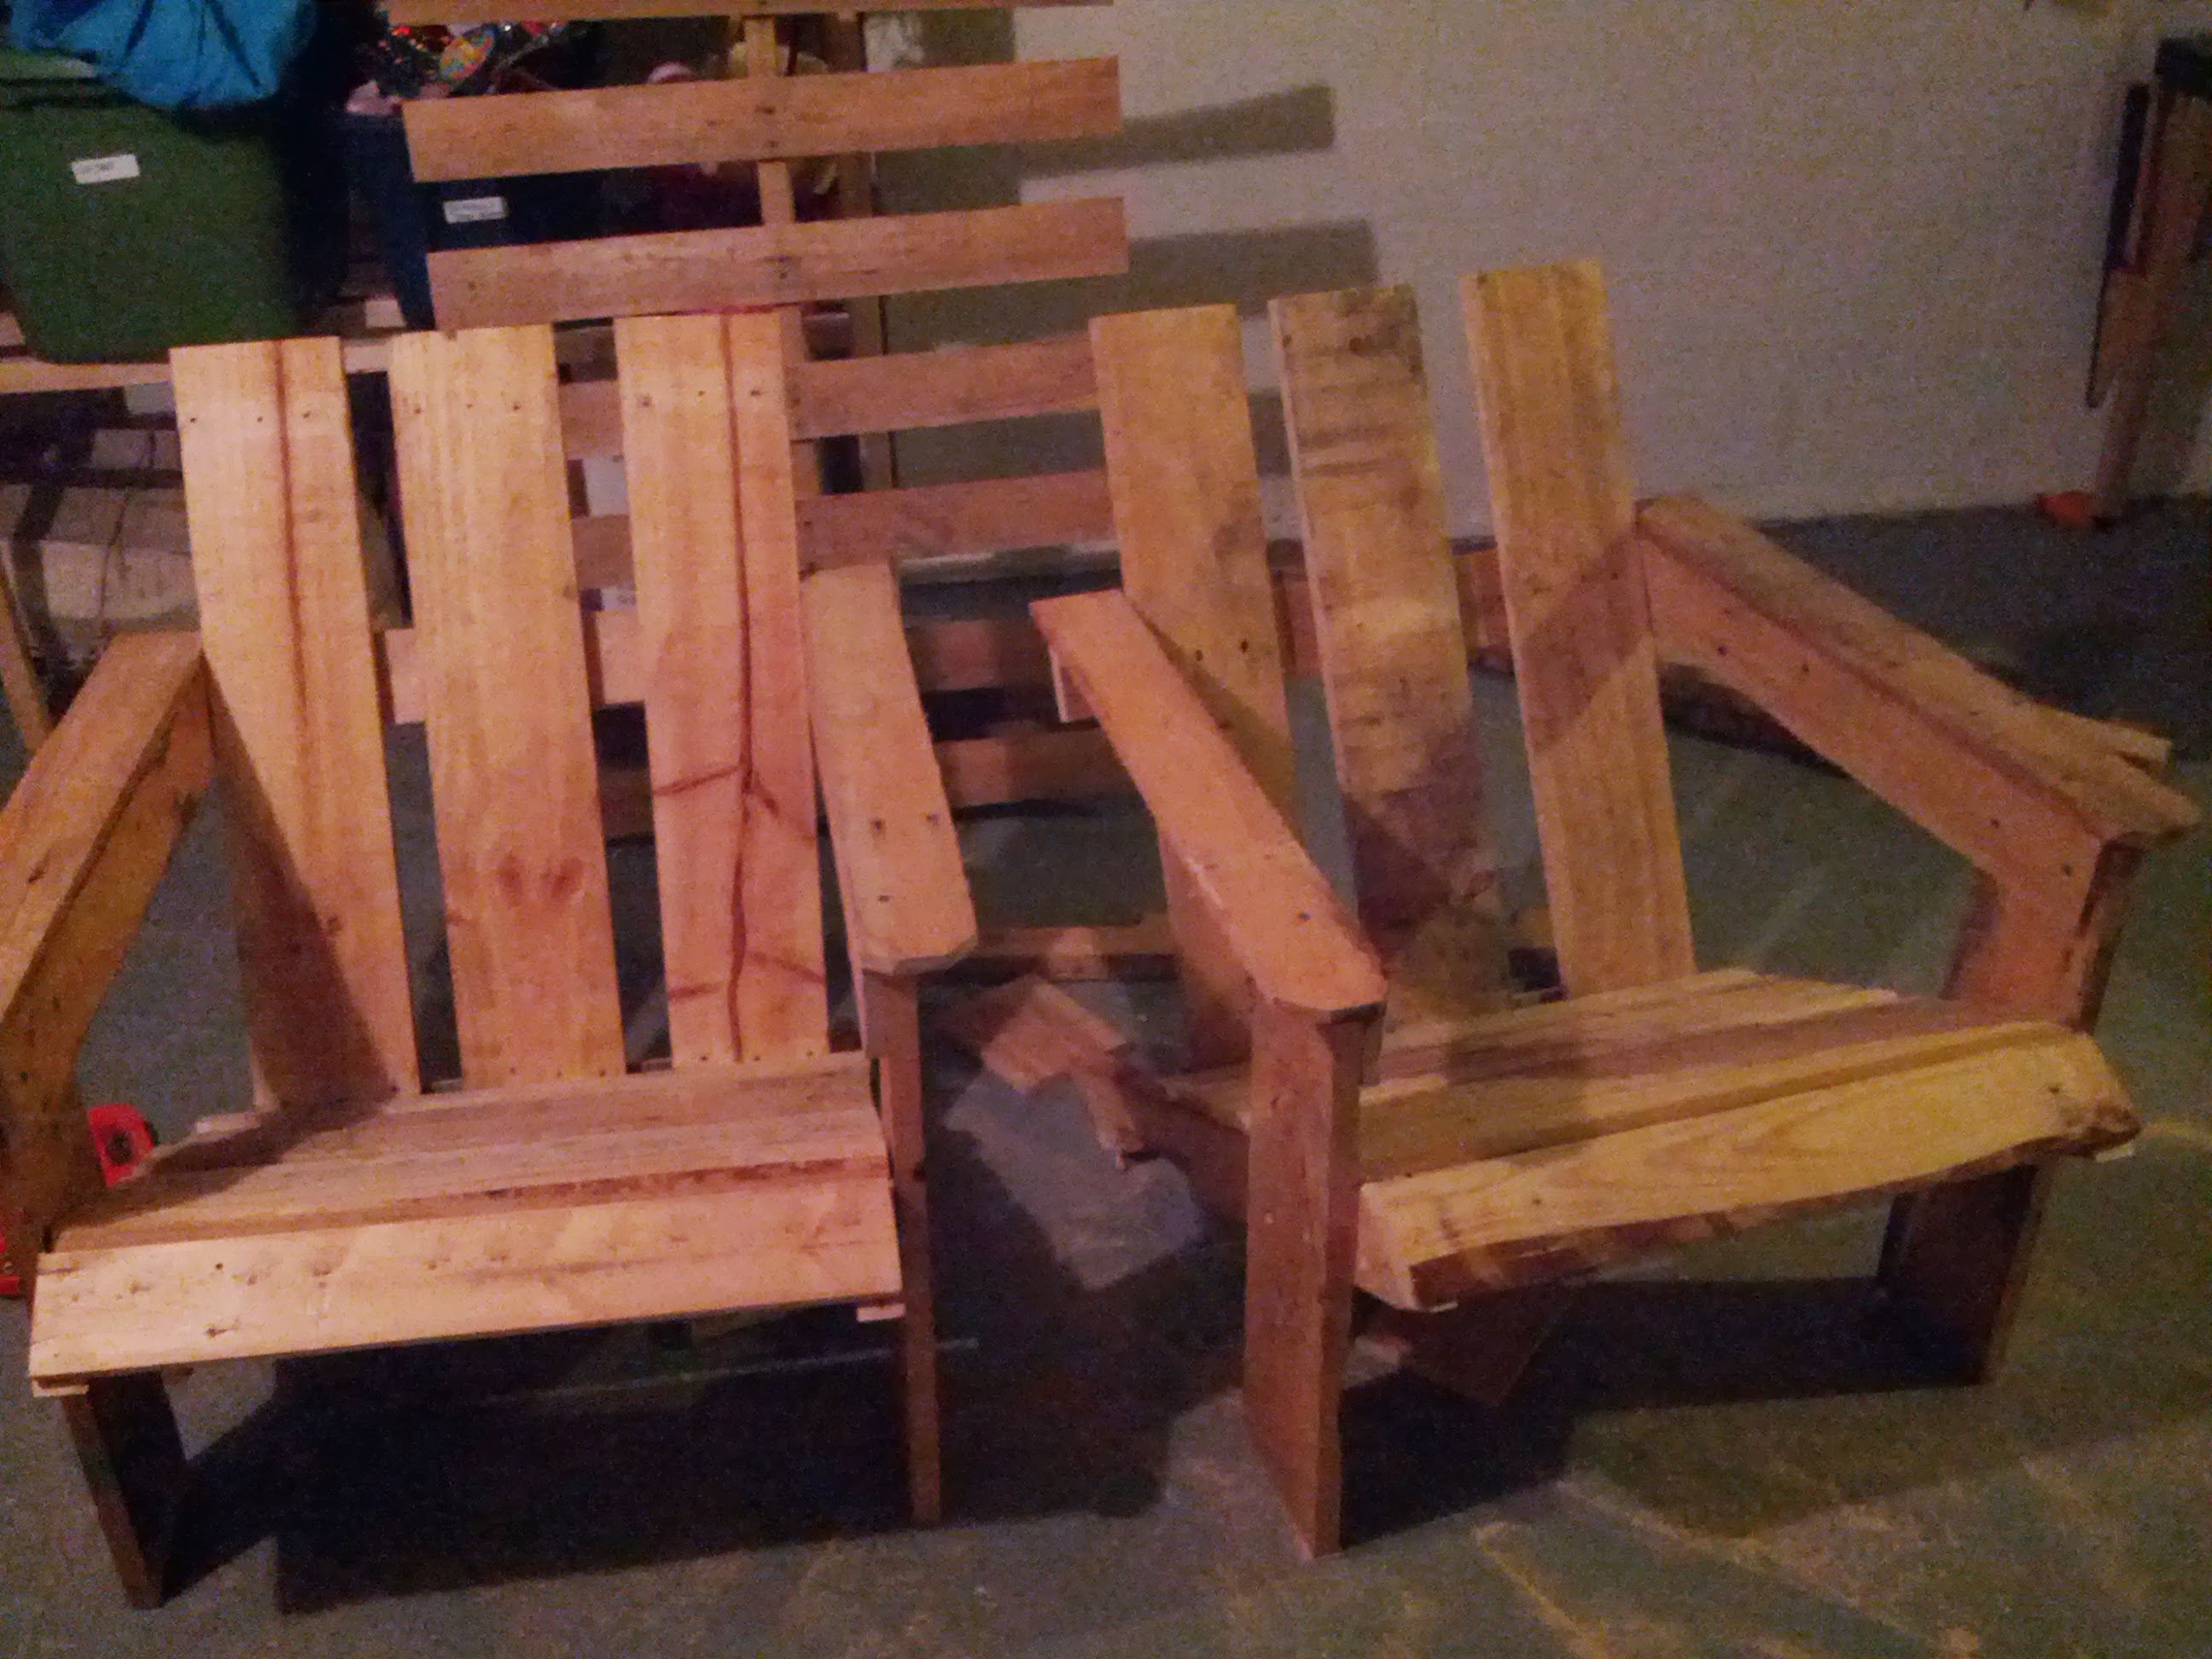
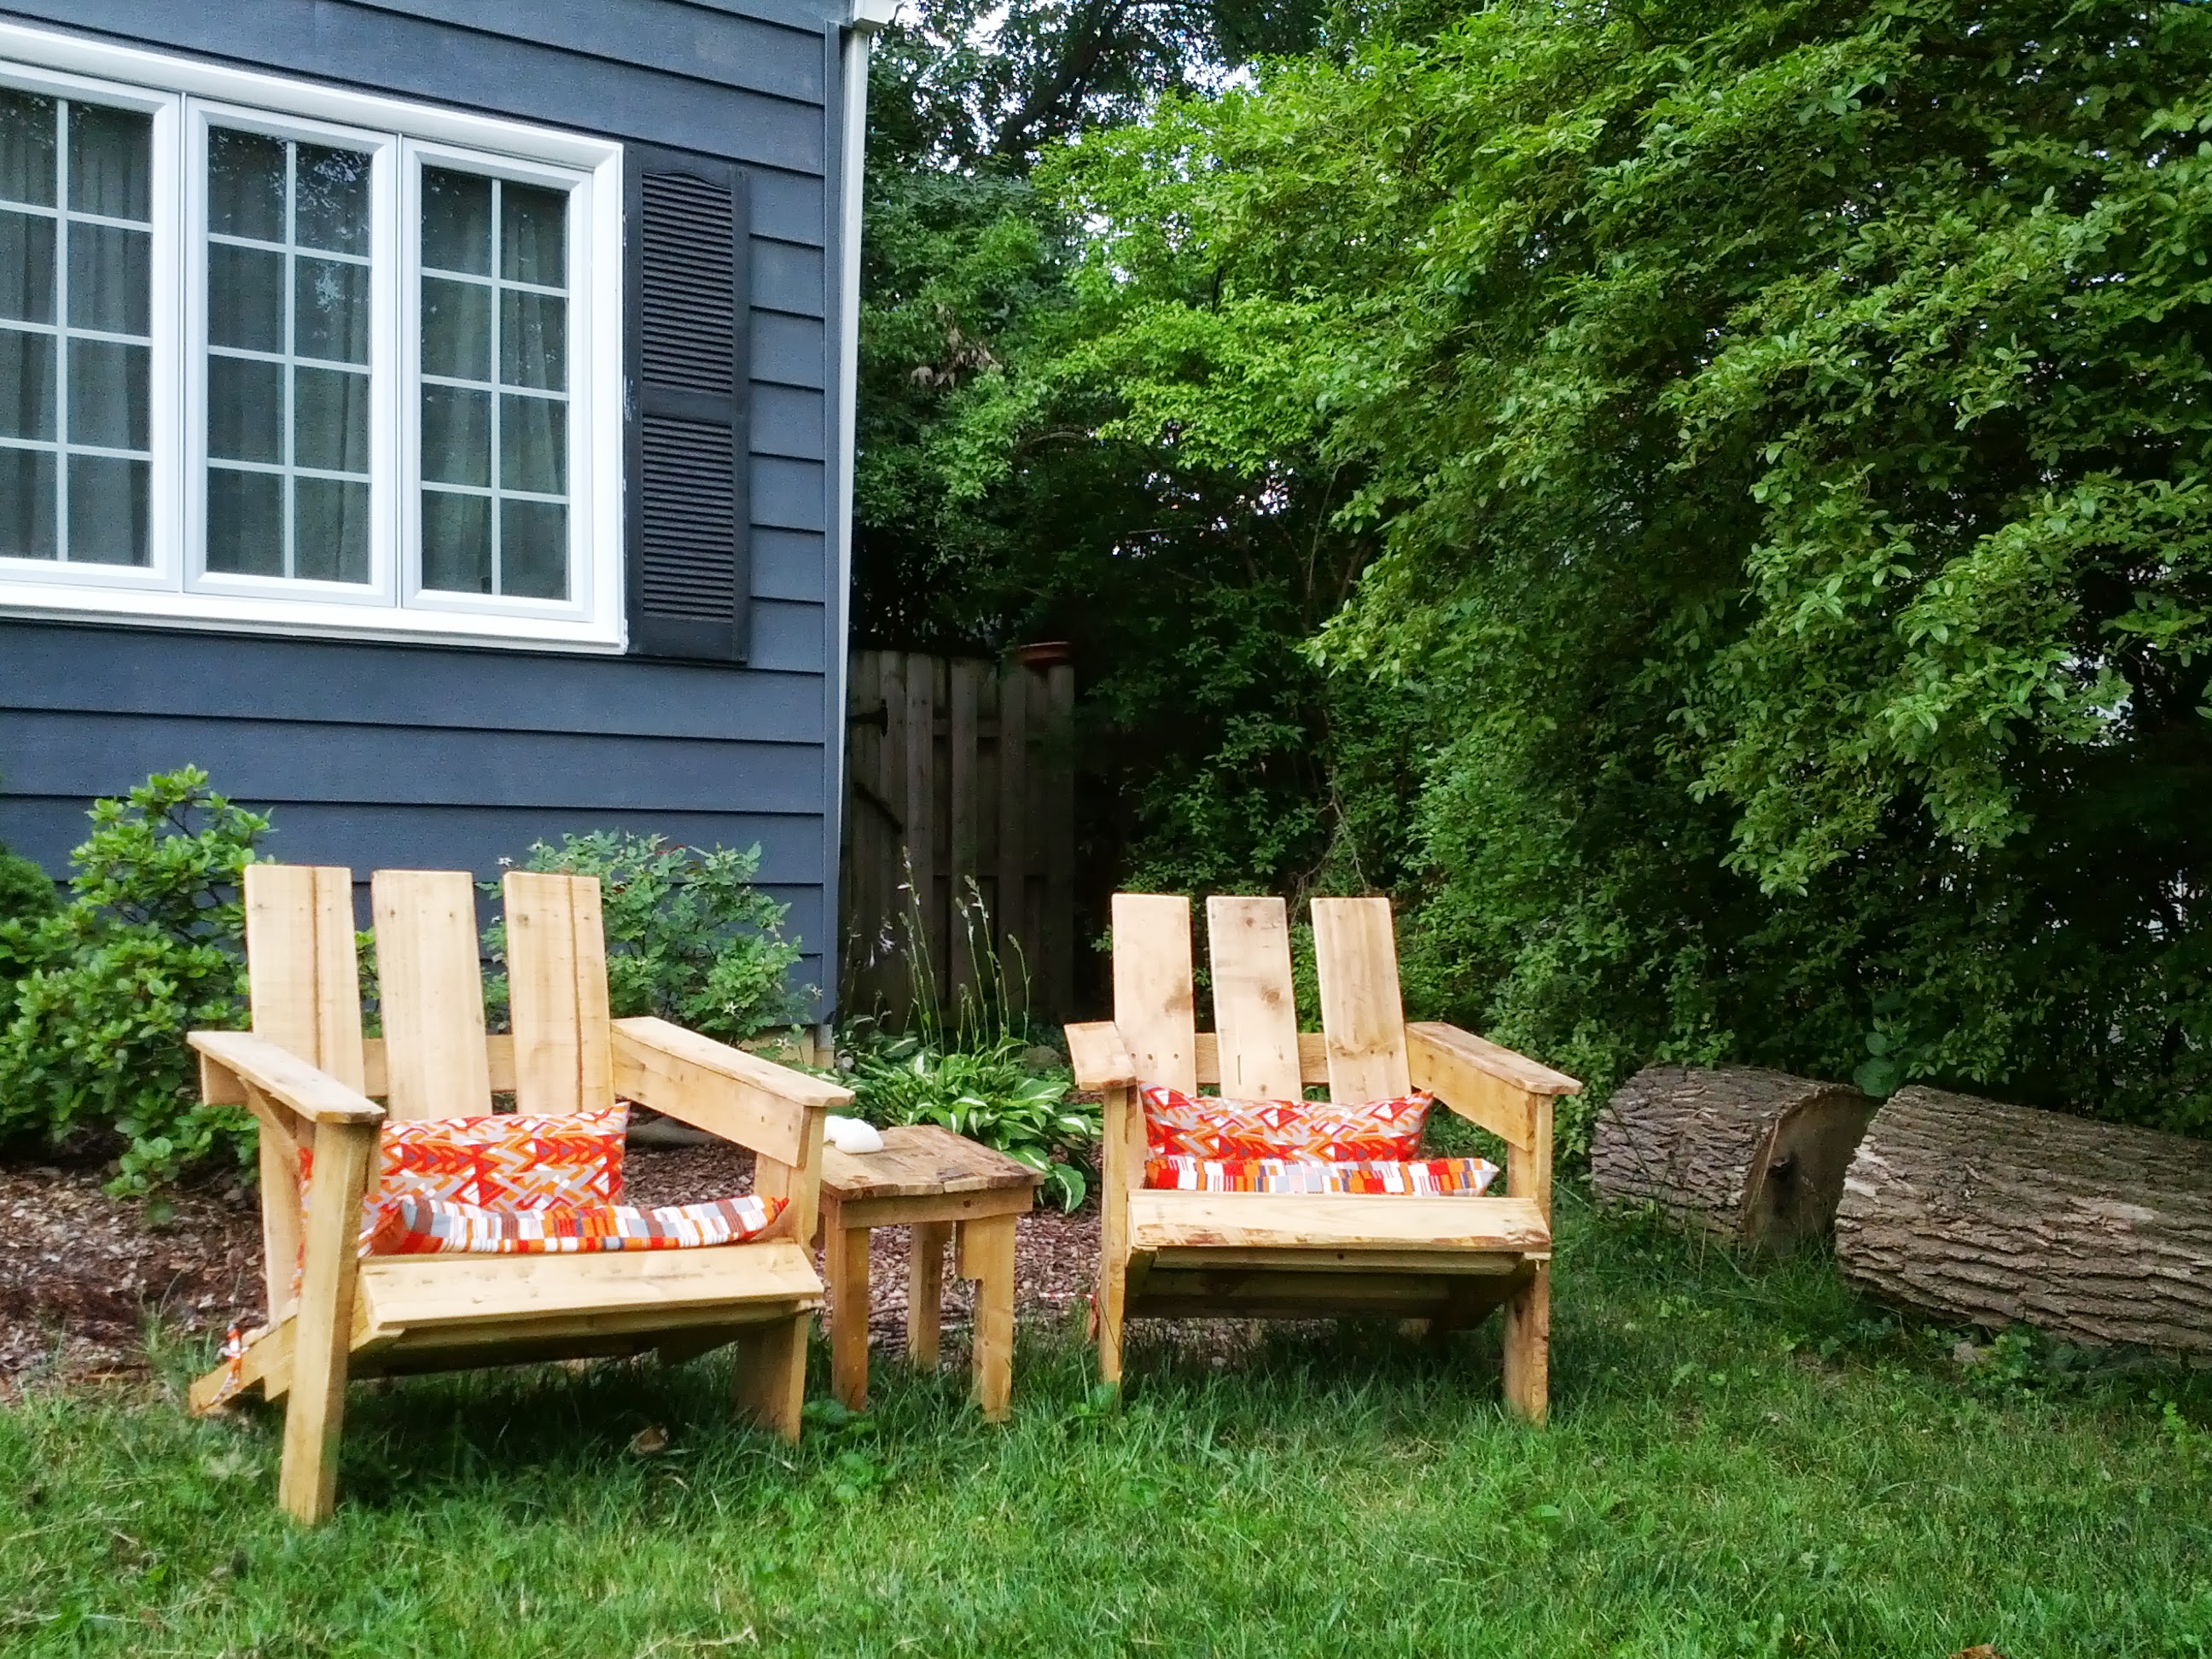
You can use a jigsaw to cut and shape the plexiglass and then an orbital sander to give the edges that nice rounded look. The wood I used was a piece of scrap left over from my Adirondack Chair Construction so it was pressure treated and then I put a couple coats of polyurethane mahogany stain over it. I’m pretty pleased with the results.

IMG_20130630_184005

IMG_20130702_212547

IMG_20130703_073253

IMG_20130703_073331

IMG_20130703_073351

IMG_20130704_072916

Adirondack Chair Construction

Gail mentioned that it might be nice to have some adirondack style chairs in the front yard for enjoying the passing traffic of cars, cyclists and pedestrians. This was a great idea! Fortunately my major projects for the year were complete (i.e. painting the house and putting in the last of the new windows) so I formulated a plan in my head to use some pallets that they were throwing away at work.

The first thing to know about making anything with pallets is that, if you plan on pulling them apart for the sake of using the wood you will break some of it in the process, and the process of breaking down pallets into individual boards is, to put it mildly, a total PITA. But otherwise it is free treated lumber.

I’d love to post up some plans to help guide you through this process but I just eye-balled everything. The pictures below should give you a good idea of how it all came together though. Also, while I was working on this, Sophie made us some “polka-dots” for the back side of the house. I love them!

1015862_10100230578690757_1817861910_o

IMG_20130623_101502

IMG_20130623_101440

992972_726841611706_1966391904_n

IMG_20130625_175417

IMG_20130625_181437

IMG_20130625_183103

IMG_20130625_184100

IMG_20130625_190119

IMG_20130625_192416


IMG_20130625_192436

IMG_20130625_203014

IMG_20130625_215243

IMG_20130625_222354

IMG_20130704_070445

IMG_20130624_074101

String (Yarn) Light

I’ve loved this style of lamp shade/chandelier for some time now although I never found out who the original designer was, regardless, as of late lots of folks have figured out how to make inexpensive versions at home with some spare yarn, glue and light components. I’m not going to go through how I made this since there’s an endless number of tutorials online already but I’ll link up one good one, and then you can Google around for others.

Here’s the tutorial: http://www.pickles.no/whirl-it-lampshade/

Here’s how it worked out for our house.

886012_10100157894056347_83862533_o

887490_10100157893931597_142287244_o

IMG_20130224_171200

New couch design and build + wall sconces

After making do for some time with a fill-in sofa I was itching to get to building the couch that haunted my mind. I’ve never built a couch before nor have I done much upholstery (almost zero), so this was a leap of faith. I think it worked out pretty well though. The fabric came from the Herman Miller factory store which, fortunately, my mom lives down the road from. If it hadn’t been for a very inexpensive purchase of a mass of upholstery fabric I probably wouldn’t have been so cavalier about this project, but fortunately I had extra yards to fall back on. Having lived with the couch a few weeks now I can see things I might do differently if I have to re-upholstery it at some point. The sketch is pretty much all I had to go on, the rest of it just sort of worked itself out in my head. Alright, enough words, now for the pictures.

IMG_20121231_110922 IMG_20130101_202557

13 - 2 IMG_20130105_175440475993_692562592136_2008845654_o IMG_20130112_202951

IMG_20130120_122616 IMG_20130121_154007IMG_20130121_184112 148719_694943730316_361831795_n

IMG_20130127_130802 IMG_20130202_220449819187_699486192186_59135686_o 820667_699485568436_1437913040_o

IMG_20130203_123658


The wall sconces/reading lamps above worked with the old couch but not with the new couch, mostly because they bonked heads. Sadly moving them up or out wouldn’t work, so I made these sconces out of some spare parts. Ultimately I think we’re going to want something else but this is a good fill in for now.

830327_10100151956086087_1105004828_o

856339_10100151956275707_1157052459_o 857881_10100151956450357_1461848184_o

Finally, a picture of the room as is now.

IMG_20130219_174312

Swing and Slingshots

This past year I became interested in making things from my youth. While I haven’t gotten round to building a tree fort yet (YET!), I’ve managed to make some other fun items that Sophie and I have had a lovely time with. Here are some photo’s of those projects.

403659_677213501836_1943666030_n403742_677213526786_1692183767_n16897_677213696446_459204450_n

IMG_20121023_171031

263467_681926157636_1619722509_n

IMG_20121208_124040IMG_20121208_131242

IMG_20121205_172911IMG_20130105_194439